
In this article
The raft wraps sideways on a rock mid-rapid, the cooler you strapped down by its handles pops its lid, and three days of food are now feeding the river. That is the failure a rafting cooler has to prevent, and it is the one every “best cooler” listicle quietly ignores. Ask anyone who has rigged a frame and they will tell you a box that is great in the driveway can still fail on the water, because keeping ice cold is only half the job. This guide covers what actually makes a cooler raft-worthy, then names specific picks by trip length and budget, plus the rigging and ice tricks that separate a guide’s setup from a first-timer’s.
What Sets a Rafting Cooler Apart From a Camping Cooler
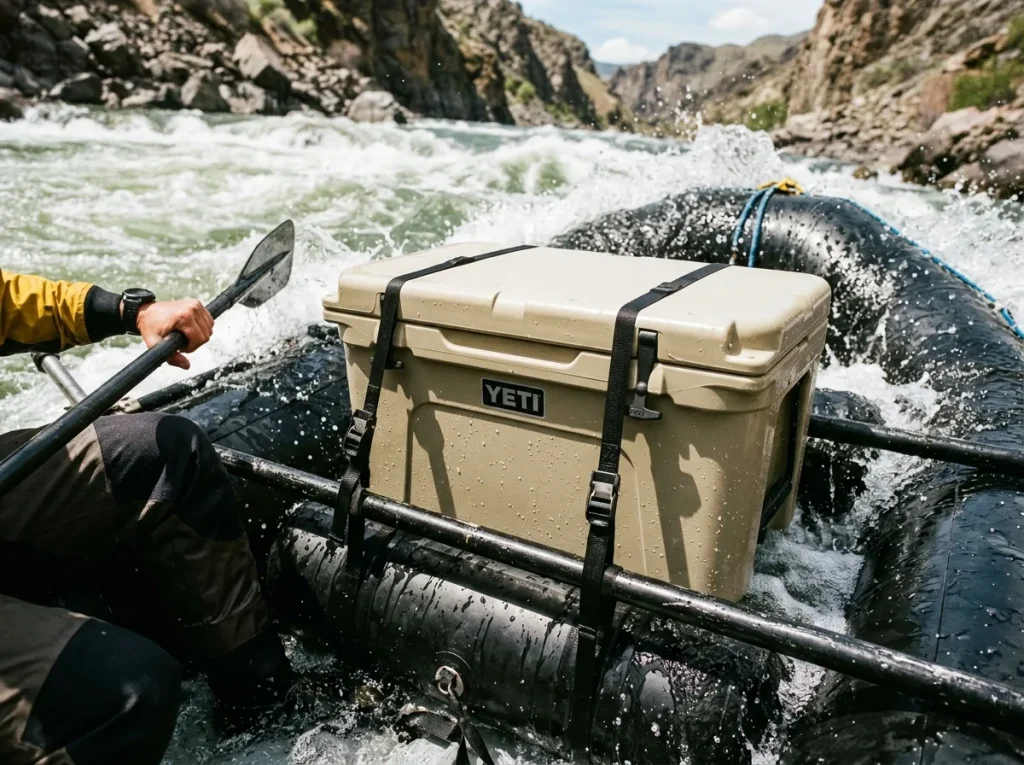
A camping cooler just sits there. A rafting cooler is one piece of your on-river comfort and gear kit, and it has to survive the boat flipping or capsizing in whitewater, wrapping on a rock, and taking strap pressure for eight hours straight. That is a different job, and it is why the box that has served you fine at the campground can betray you on the river.
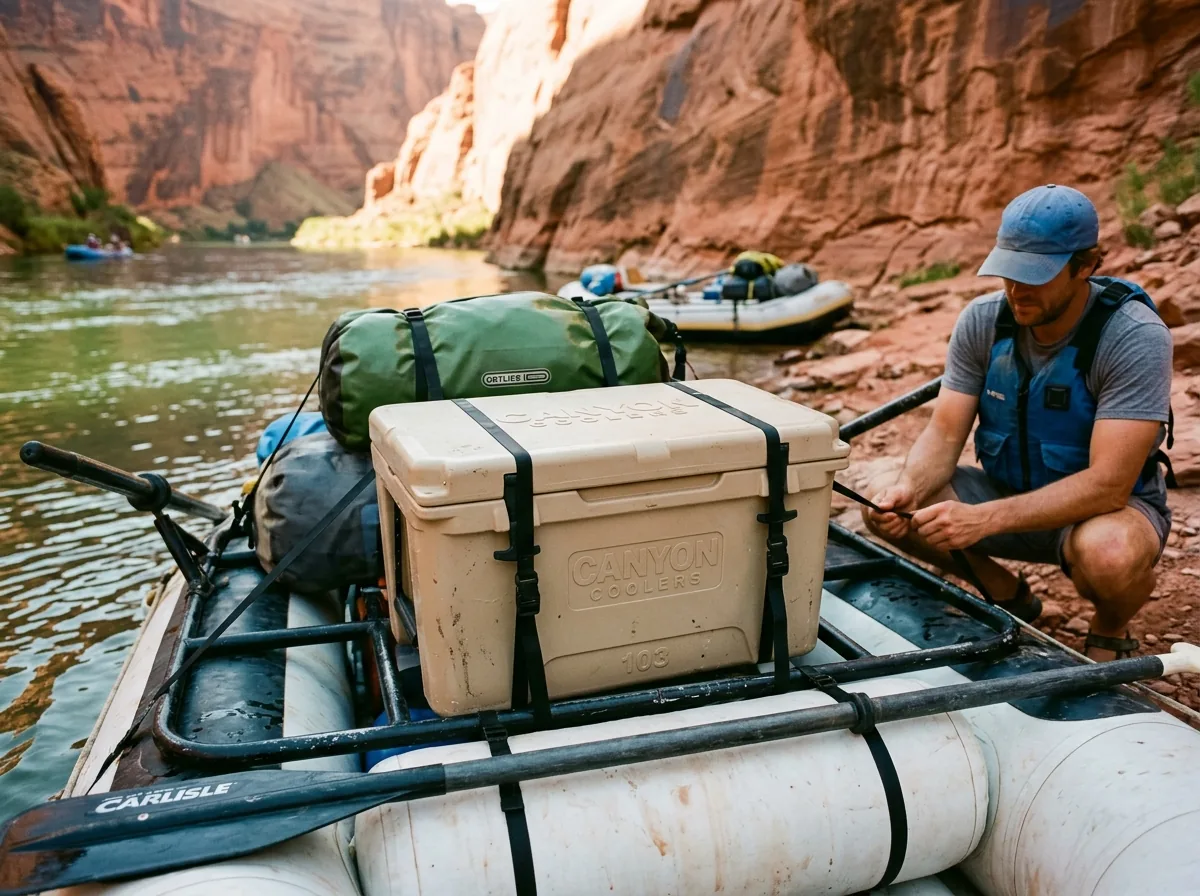
The most common mistake is strapping a cooler down by its lid or its handles. There is nothing rigid there for the strap to bite into, so the cooler shifts, rotates, or pops open the moment the raft goes over. What you actually want are molded tie-down slots, also called lashing points, four to six or more, built into the shell so the straps route through the cooler itself. That is what lets a box stay cinched down tight and still open when you need lunch. It is the same rig-to-flip logic you use for keeping your dry bags on the boat: pack and strap every piece as though the boat will flip, because eventually one will.
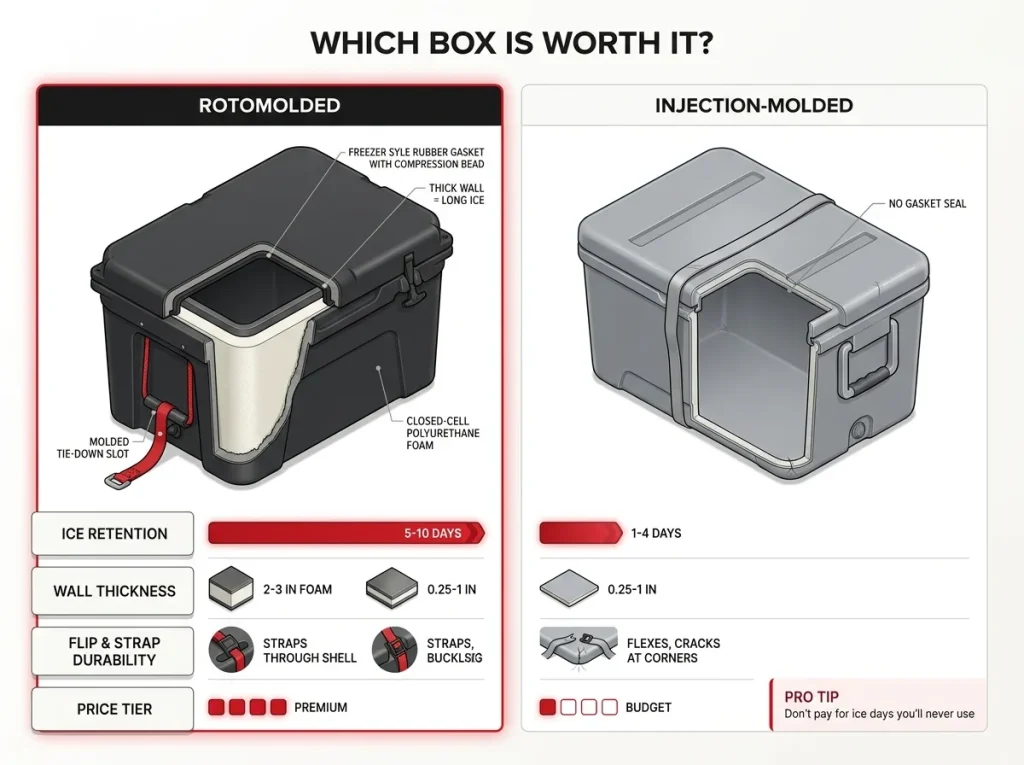
Construction is the other half. A rotomolded shell has thick, seamless walls that double as a bench seat and a casting platform all trip. A thin-wall box flexes under strap tension and can crack at the corners right where the straps pull hardest. Route the cam straps through those slots and around the frame, not over the lid, and the cam straps you actually rig it with matter as much as the cooler.
Before you commit to a cooler, count the tie-down slots and check where they sit. Two slots on the lid do nothing. You want slots low on the shell, on the sides that face your straps, so the box is pinned to the frame and not just resting on it.
Rotomolded vs Injection-Molded and What Ice Retention Really Costs
Here is the honest version of the question everybody actually asks: is a rotomolded cooler worth the extra money for rafting? The answer depends entirely on how long your trips run.
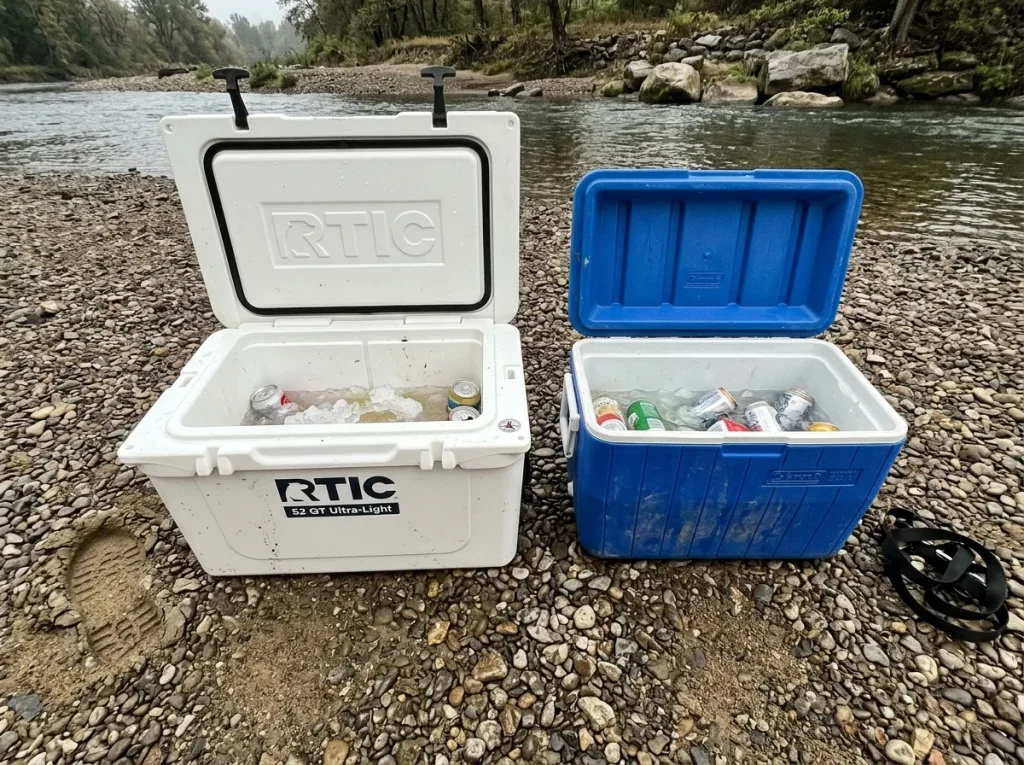
Ice retention is where the two constructions split hard. A rotomolded cooler holds ice roughly five to ten days in real use, and the top-tier boxes stretch that to a week or two. An injection-molded cooler typically manages one to four. On a four-day run that gap is the difference between ice still rattling in the box at the takeout and warm water by day three. The reason is wall thickness: rotomolded shells pack two to three inches of high-pressure foam, while injection-molded walls run a quarter-inch to an inch with thinner insulation.
That same wall thickness is why one box shrugs off strap tension and the other flexes toward seam failure at the corners, right where the straps pull hardest. The gasket and hinge matter too. A freezer-style seal is what actually traps the cold once the lid is down, and a sloppy gasket will bleed ice no matter how thick the walls are. Cheap boxes fatigue faster in other ways, since UV radiation and abrasion wear down the weakest points, usually the latches and the lid hinge, long before the shell itself gives out.
But do not let the premium marketing bully you. For a hot weekend where you just need drinks and a couple of meals cold, an injection-molded box is genuinely fine. This is the anti-sell, and it is real: do not pay for a week of ice retention you are never going to use.
Forums make the same point about brands, and they are right. Engel runs meaningfully cheaper than the big-name premium boxes in the same size class with no real difference in how long the ice lasts. Paying double for the logo is optional.
The Frame-Fit Features That Make or Break a Rig
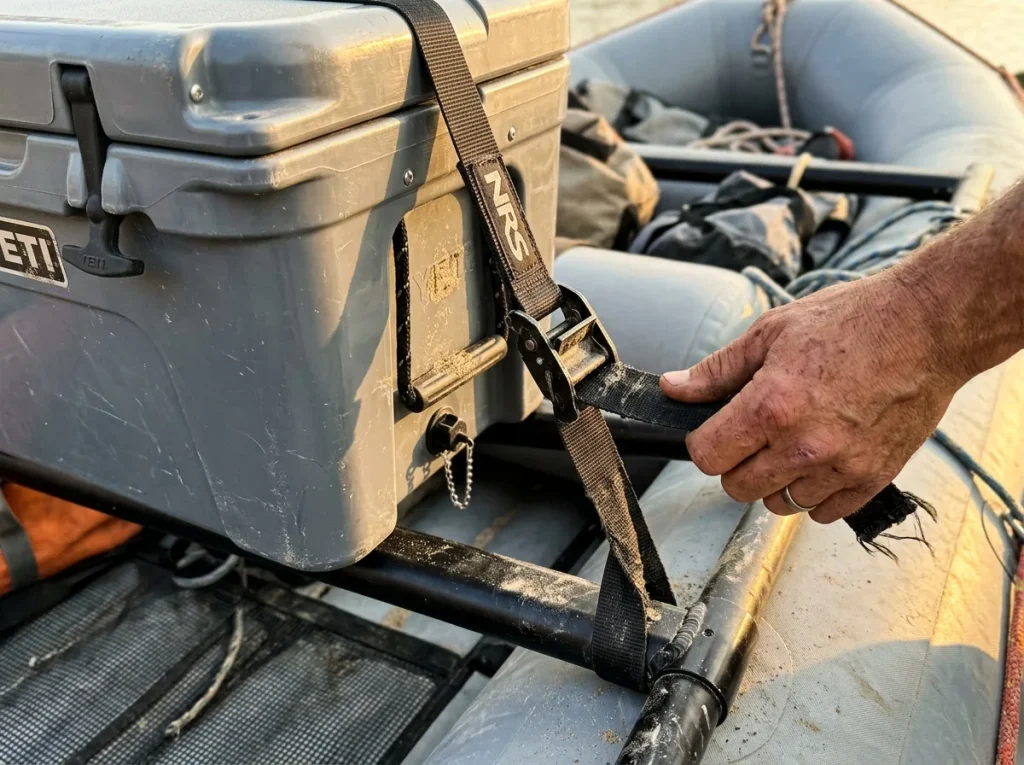
The feature buyers discover too late is the frame lip. A cooler with a molded-in lip drops straight onto the frame rail and seats itself with no brackets. A cooler without one needs an added sling or mount system, which is a chunk of extra hardware and rigging time nobody budgets for. If you already own a frame, check for the lip before you buy, not after.
After the lip, look at the small stuff that decides whether rigging takes two minutes or turns into a fight. Drain-plug placement, front versus side, changes how you empty meltwater with the box strapped down. Latch position matters too: you want latches that clear the frame crossbar so the lid opens without unstrapping the whole thing. Get this wrong and every sandwich means loosening straps.
For a cooler that lacks a built-in lip, the NRS Cooler Mounts (check price on Amazon) are the community fix for locking it to the frame, and Cascade River Gear slings are the other go-to. Either beats the default move, which is trusting the four generic straps that came with your frame kit. Those rarely have the working load limit or the right angle to stop a loaded cooler from rotating. Rig it the same way you would rig a dry box, through dedicated points, and it stays put.
Whether the lip fits at all comes down to the raft frame you are running, since the rail dimensions decide which coolers drop in clean. And if you find the cooler options frustrating, a dry box instead of or alongside a cooler is worth a look for the gear that does not need to stay cold.
Sizing to Your Trip, Your Crew, and What You Can Actually Lift
Most sizing advice stops at trip length. It should not, because the number nobody mentions is the one that matters at the ramp: who is lifting this thing?
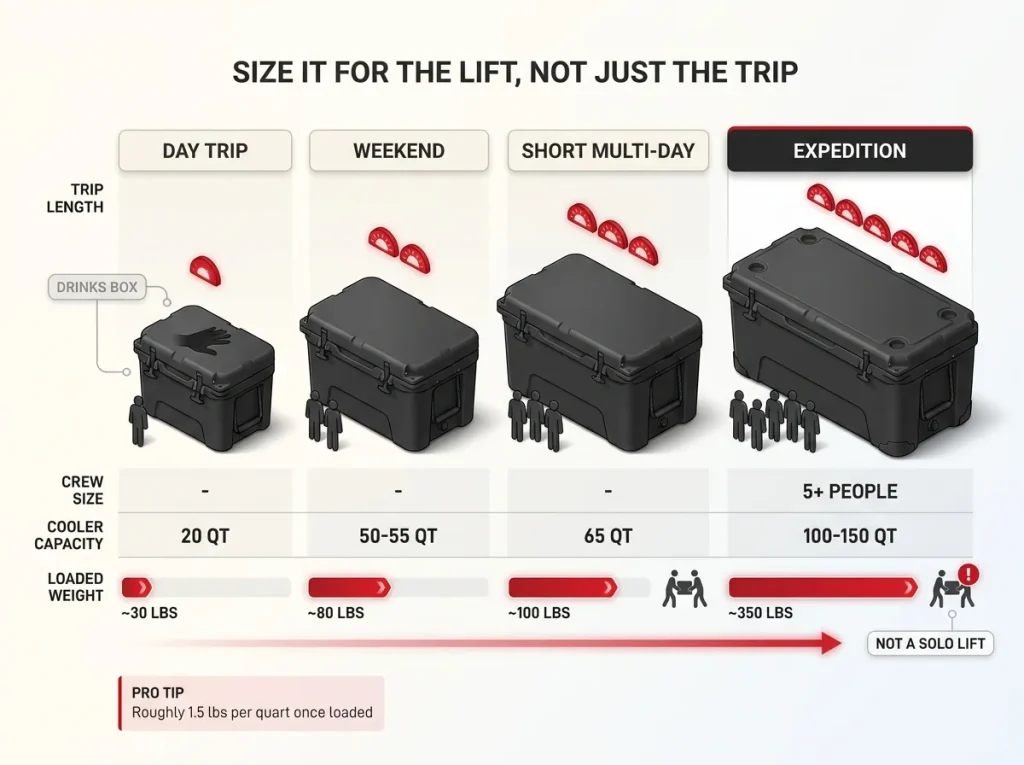
Start with the rough map. A day trip needs little more than a drinks box. A weekend for two to four people runs comfortably on a fifty to sixty-five quart cooler. A multi-week expedition crew moves into hundred-quart-plus territory, often split across more than one box. That is the capacity side, and every competitor covers it.
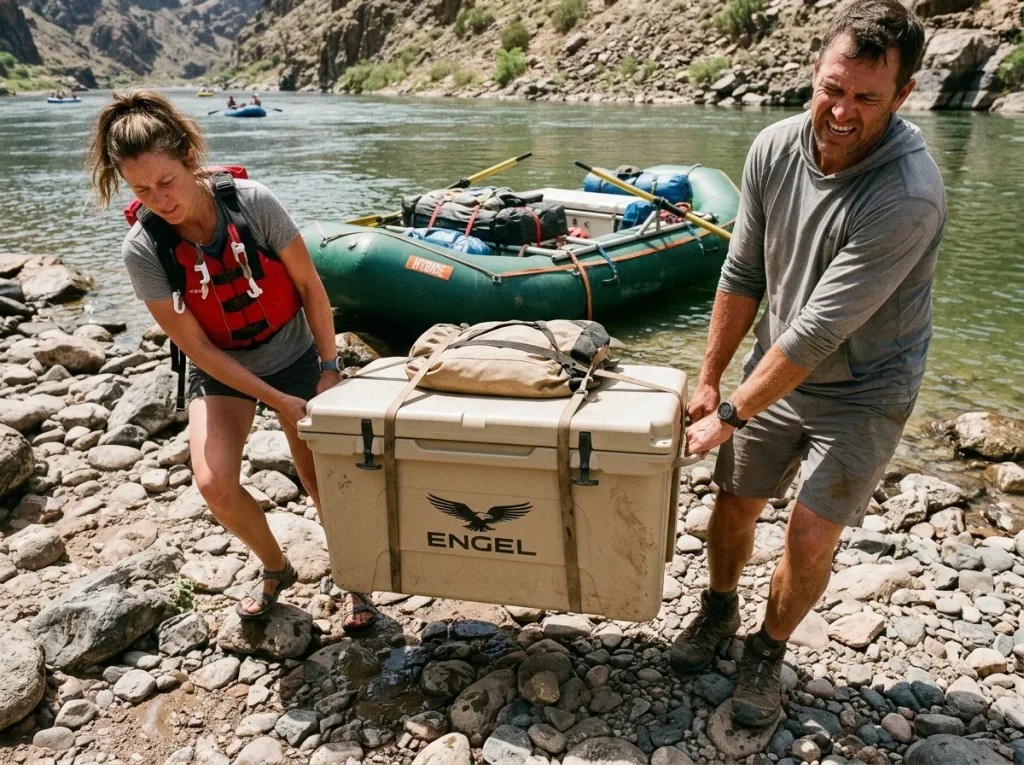
Here is what they leave out. A fully loaded sixty-five quart cooler runs around a hundred pounds. A hundred-fifty quart expedition box, packed with block ice and food, can hit three hundred fifty to three hundred seventy-five pounds. That is not a solo lift onto a frame, and it is not a solo carry back up a rocky takeout at the end of a long day. The private boater who buys the biggest box he can afford is the same one standing at the takeout ramp unable to budge it without a second set of hands.
So size down on purpose for a small crew, not just for a short trip. A two or three person group is almost always better served by a cooler they can actually move loaded, even if it means one more ice run. And split your load: the USDA recommends separating food from drinks across two coolers because the drinks box gets opened forty-plus times a day. Keeping that traffic out of your food cooler protects both your ice and your food-safety margin. If lifting is the real constraint, wheels are the other answer, and we get to those below.
Do the loaded-weight math before you buy, not at the put-in. Take the cooler’s quart capacity, figure it fills with roughly a pound and a half per quart once ice and food go in, and ask yourself honestly whether two of you can lift that onto a frame. If the answer is no, size down or go wheeled.
Best Expedition Coolers for Multi-Day River Trips
This is the tier where ice has to last a week and the cooler doubles as camp furniture. Think a multi-day Grand Canyon, Cataract, or Middle Fork trip, where an ice run is not an option and the box lives lashed to the frame the whole trip.
Best Expedition: Canyon Coolers Prospector 103
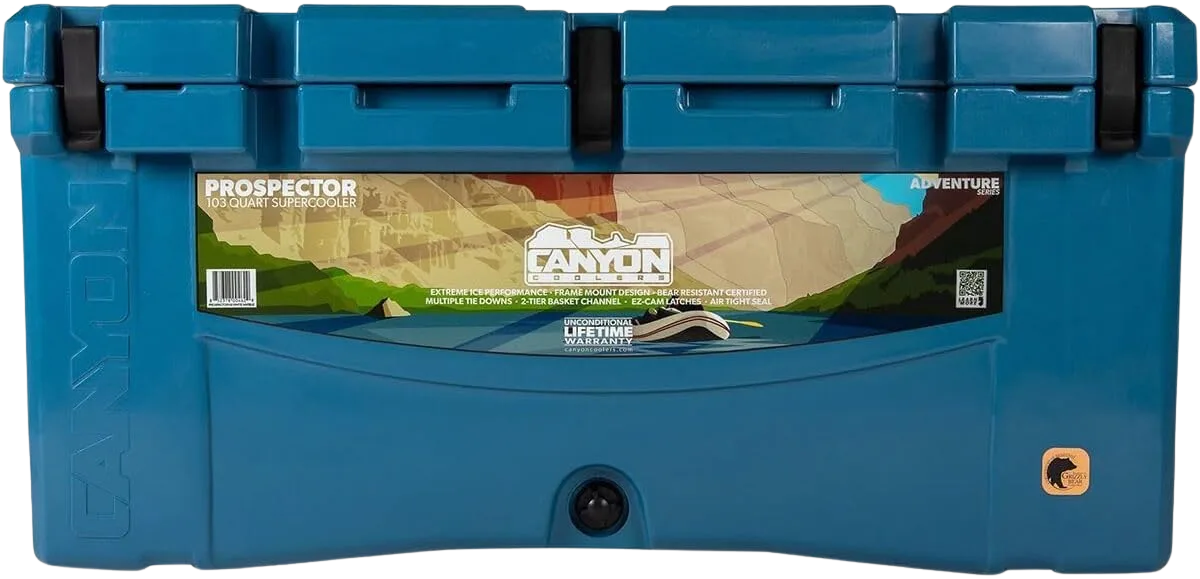
The Prospector 103 earns the top slot because it was designed around the frame, not adapted to it. The lip and the slot count mean you spend two minutes rigging it instead of buying a mounting kit and improvising. It is premium money, but for a crew running genuine multi-day trips, it is the box that does not become the problem.
Big-Capacity Value: ENGEL ENG 123
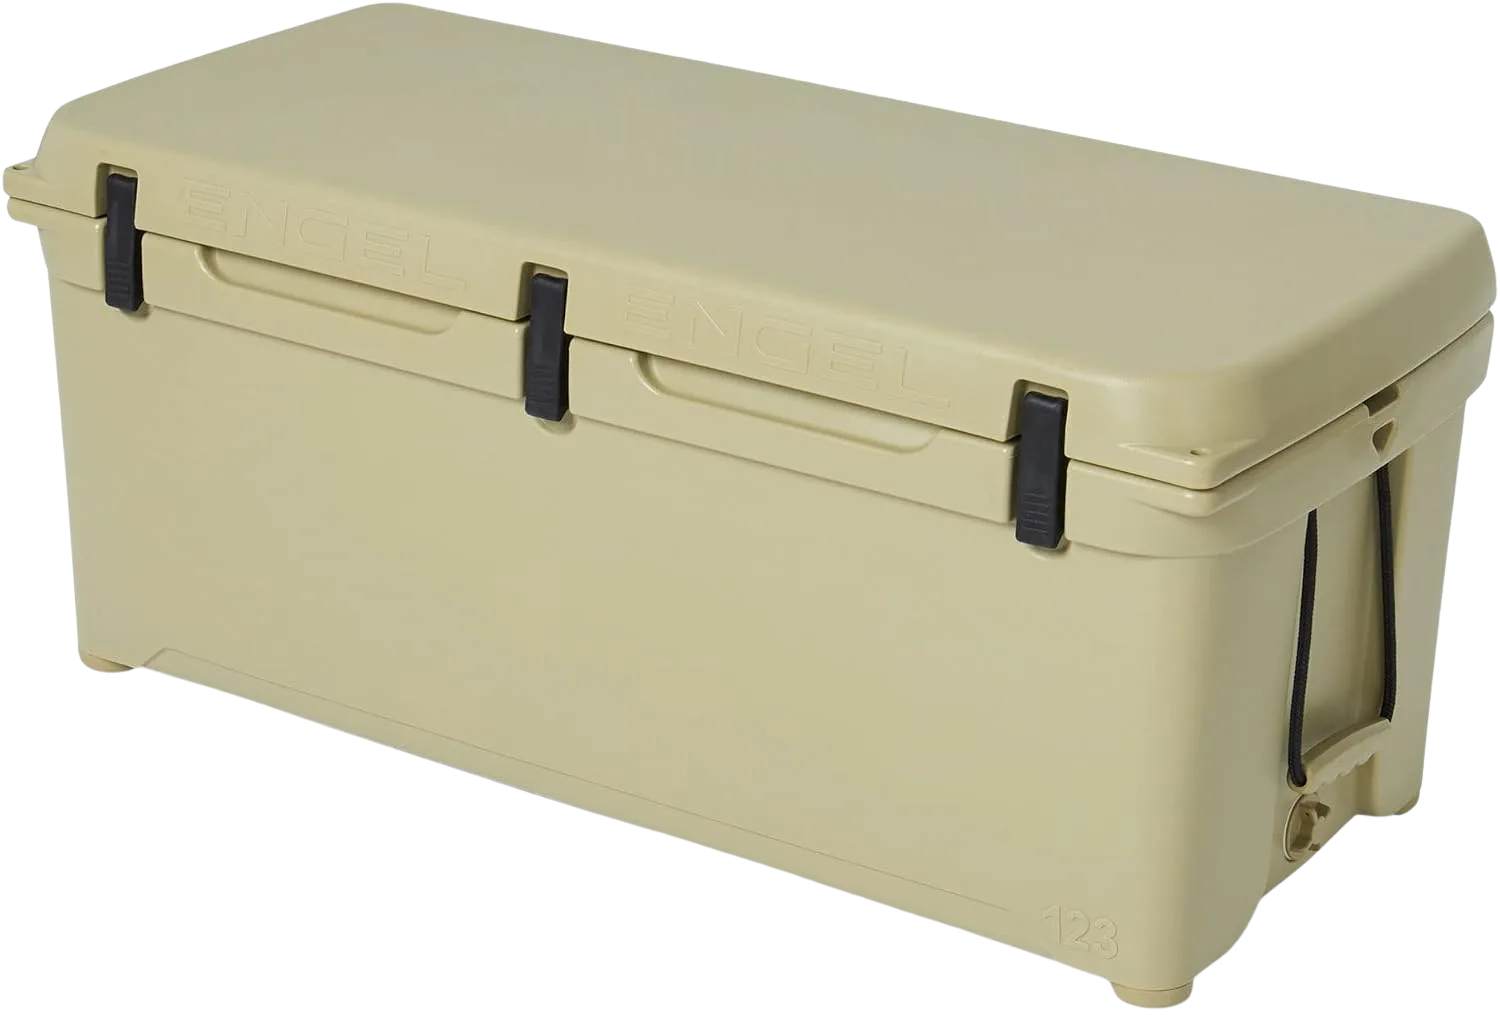
The ENG 123 is the move when you need serious volume and would rather not spend Prospector money. It gives up the purpose-built frame lip, so confirm your frame fit or plan for a mount, but the ice performance and the low cost per quart make it a workhorse. Aftermarket parts availability is the quiet win here, because a cooler you can actually repair lasts a decade of seasons.
Budget Expedition: Rubbermaid Marine Cooler 102 Quart
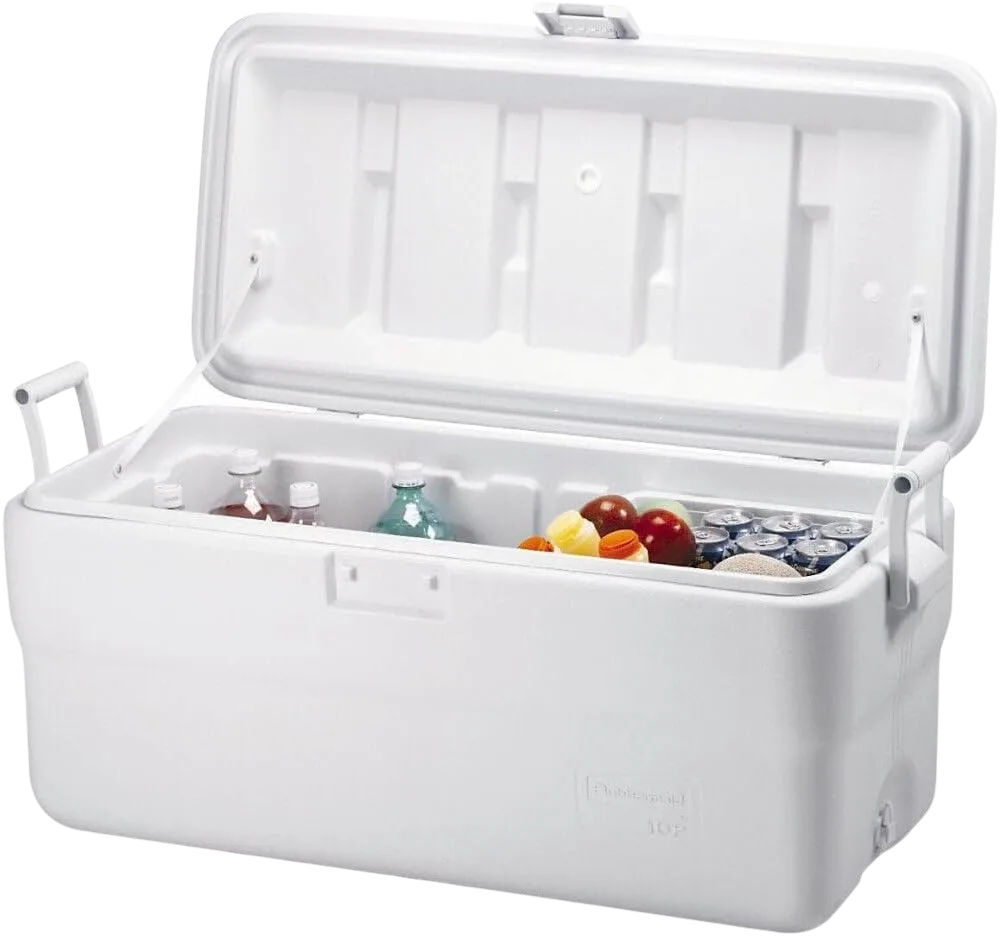
Nobody needs to spend four hundred dollars to run a first multi-day trip. The Rubbermaid Marine is the box that gets a new private crew on the water without the premium outlay, and its five-day rating at real heat is plenty for a lot of runs. The trade is honest: it is heavier for its insulation and its ice life trails a rotomolded box, so pack more block ice and manage the lid. For the price, that is a fair deal.
Best Weekend Coolers, Bear Country Included
This is the two-to-four-day tier, the size most rafters actually buy. It is also where the bear-resistant question gets settled, because the two IGBC certified picks live right here.
Before the cards, the honest version of the bear story. The IGBC list covers 103 certified models from around two dozen companies, which sounds authoritative until you read the fine print. Certification measures the effort a grizzly must expend to breach the box, not a guarantee it is bear-proof, and land managers do not automatically honor the list outside their own jurisdiction.
And the assumption floating around trip-planning forums, that any permitted river demands an IGBC cooler, is not how it works. Canyonlands National Park’s own river regulations for Cataract Canyon require only that unattended food and gear be secured so wind and wildlife cannot create litter, with no explicit certified-cooler mandate. So the real answer is not “buy any IGBC box and you are covered.” It is check the permit for your specific run or call the ranger station, then match the exact model against the Interagency Grizzly Bear Committee’s list of certified coolers if certification is genuinely required.
Bear Country Pick: YETI Tundra 65
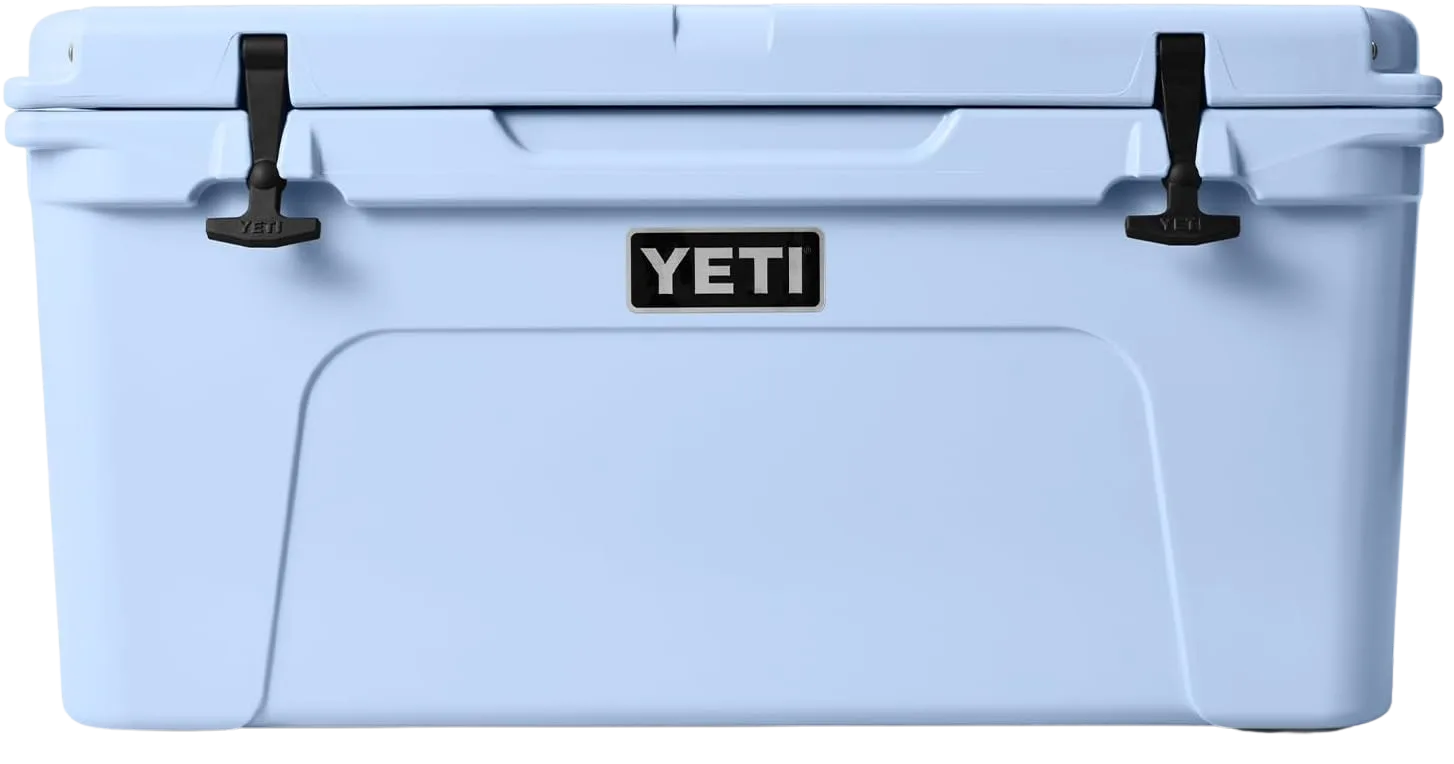
If your run requires certified storage, the Tundra 65 is the straightforward pick: confirmed on the IGBC list and sized right for a weekend crew. Just remember certification is model-specific, so verify the 65 against the current list for your permit rather than assuming every Yeti qualifies. Outside of bear country, it is still a strong rotomolded box, though this is where you decide whether the name is worth the premium over the value picks below.
Best Lightweight: Canyon Coolers Outfitter 55 V2
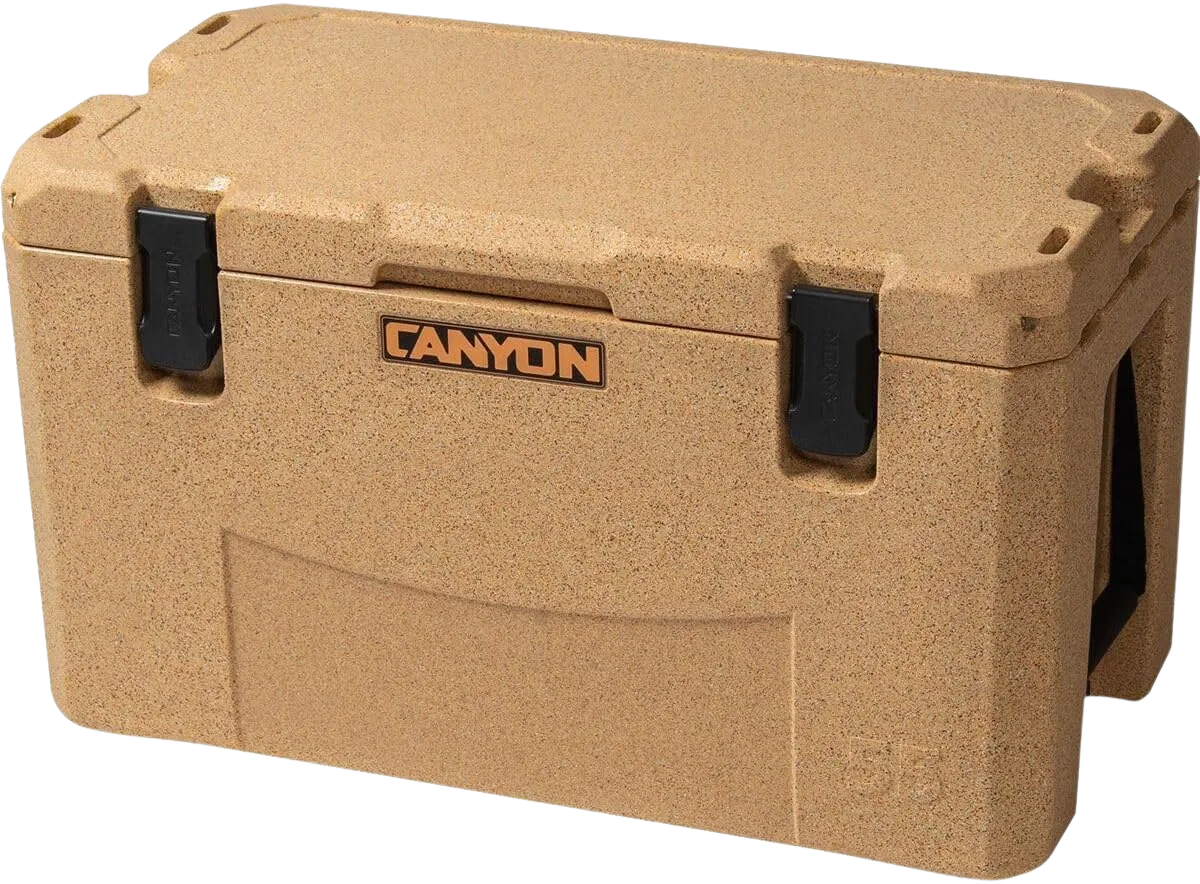
The Outfitter 55 V2 is the smart pick when weight is on your mind, which it should be after the sizing section above. At 26 pounds empty it starts lighter than most rotomolded competitors, so the loaded box lands more manageable for a two-person lift. You get IGBC certification in the bargain, making it a genuine do-both option for a smaller crew that might see a permitted river.
Value Rotomolded: RTIC 52 QT Ultra-Light
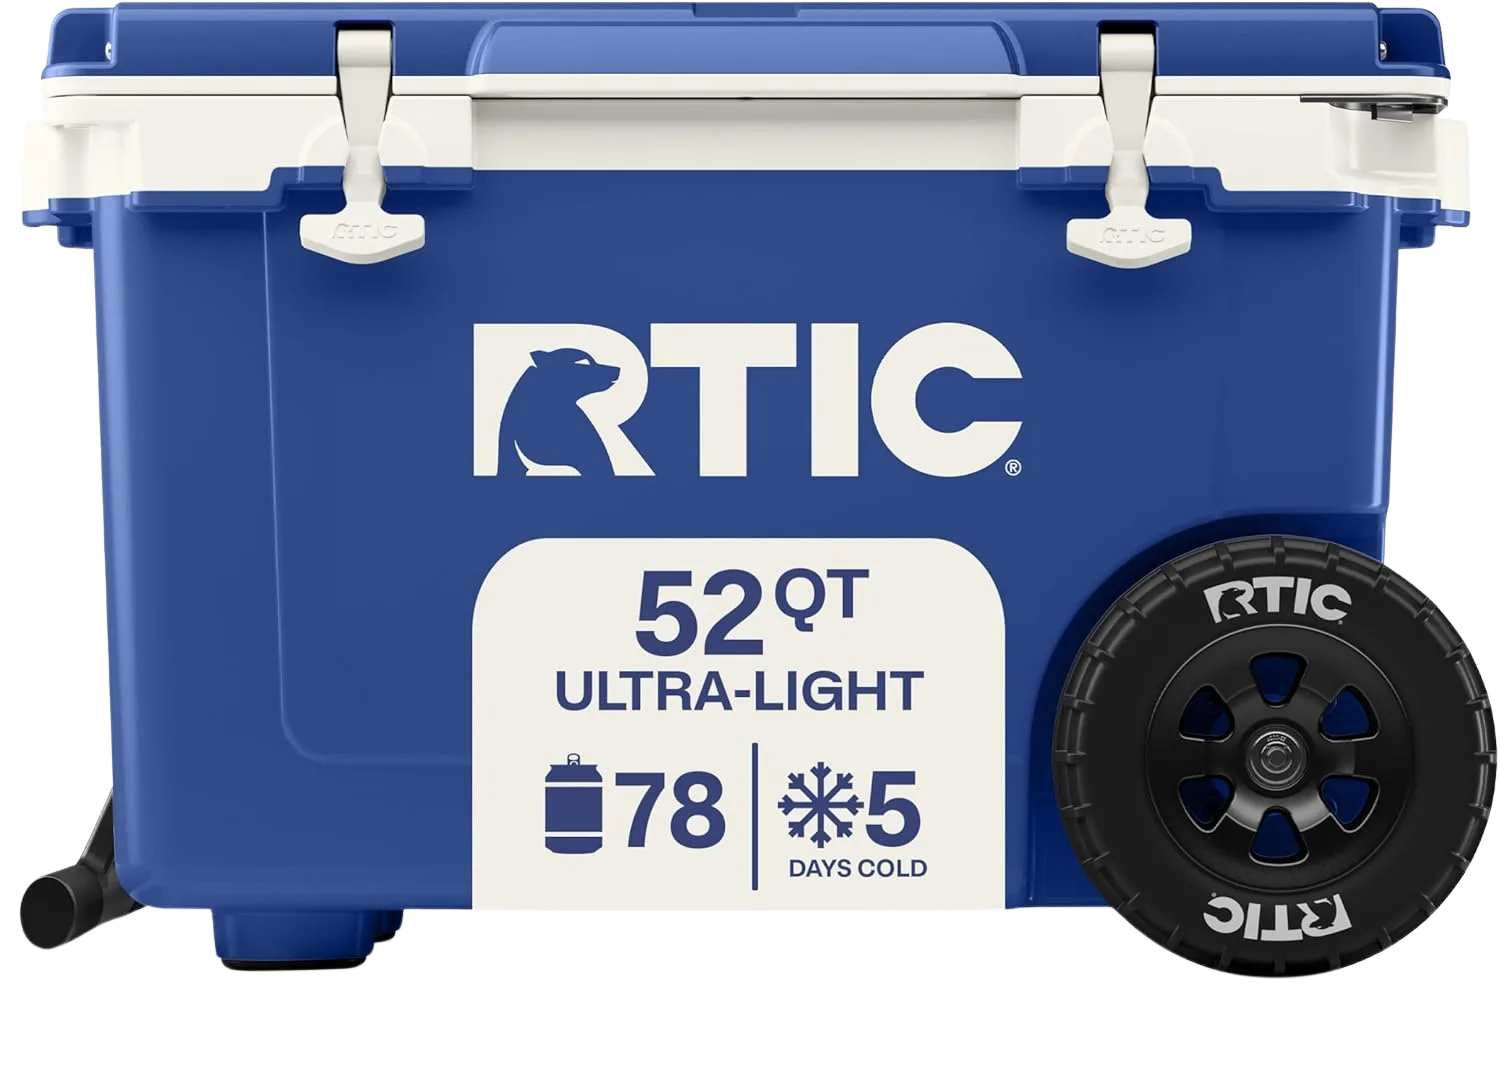
The RTIC 52 is the box to hand a friend who asks what to buy for their first weekend trips. You get real rotomolded ice retention without the premium markup, and for most weekend crews that is the whole game. Skip it only if your permit needs certification, in which case the Tundra or the Outfitter above are your lane.
Budget Weekend: Igloo ECOCOOL Latitude 52
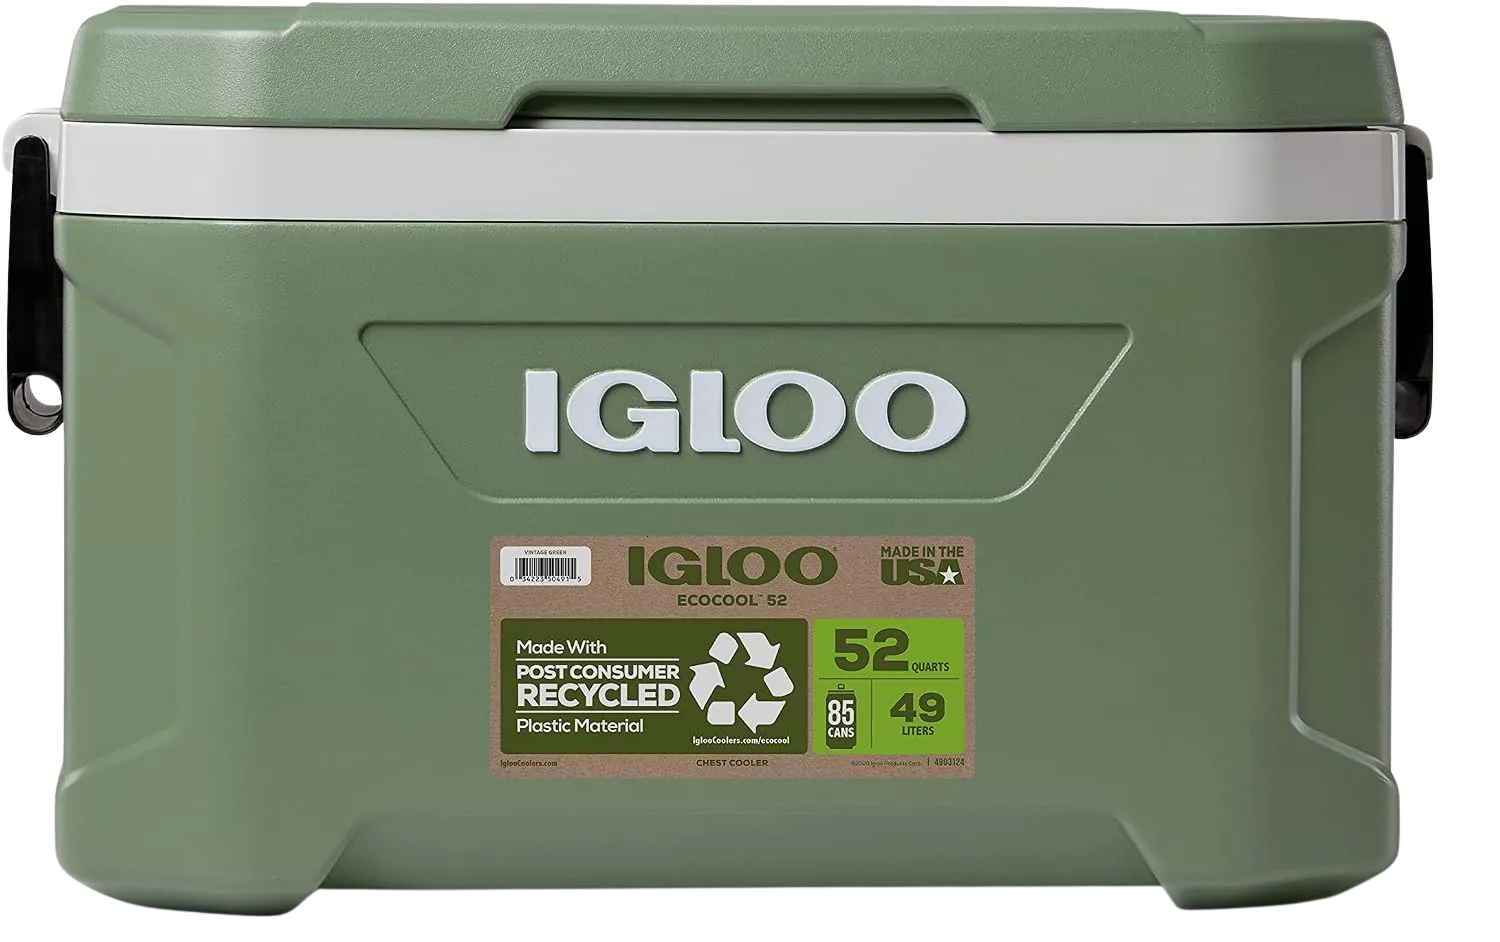
The ECOCOOL Latitude 52 is the honest floor of the weekend tier. It will not hold ice like the rotomolded boxes, and that is fine, because it is not pretending to. For a short, warm run where the cooler only has to last a day or two, it saves you real money and still keeps the drinks cold. Just do not ask it to carry a four-day trip through desert heat.
Best Wheeled Coolers When You’re Loading Solo
If the sizing section made you nervous about lifting, this is the tier that answers it. Wheels do not help once the box is rigged, but they solve the exact problem of moving a loaded cooler from the vehicle to the raft when you have no second set of hands.
Best Wheeled: Rovr RollR 60
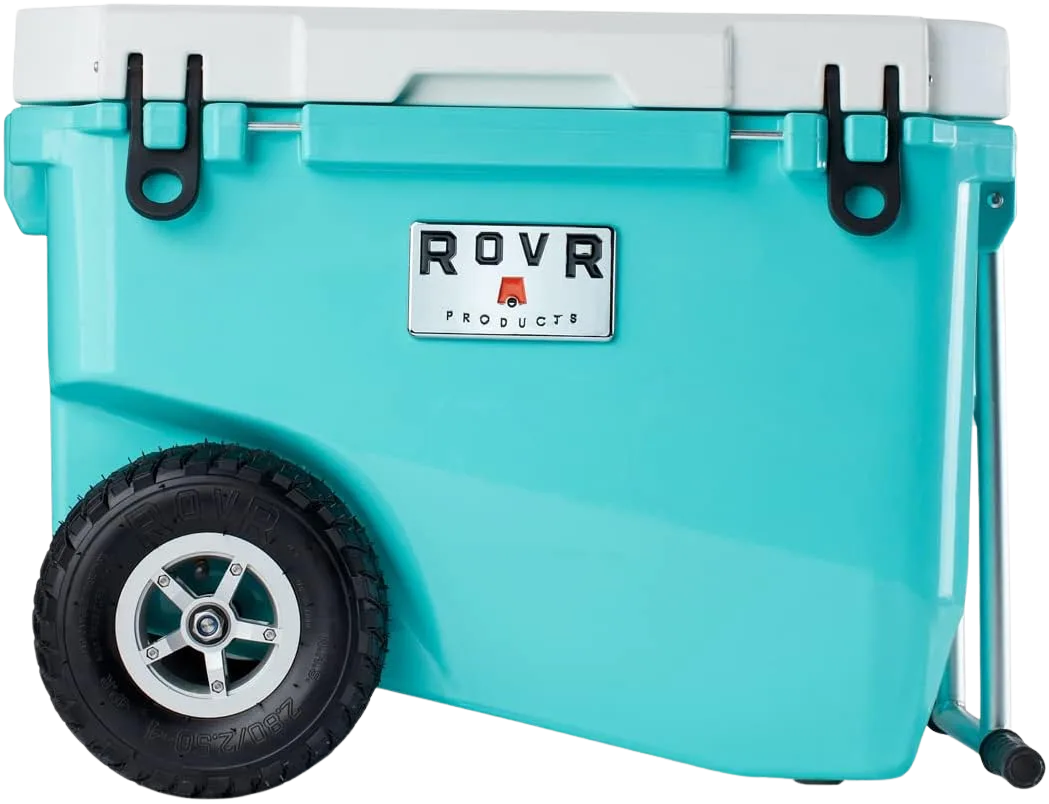
The RollR 60 is the answer for the solo boater or the crew that does long carries at the takeout. Those wheels turn a two-person haul into a one-person roll, which is worth a lot at the end of a tired day. It still needs proper rigging once it is on the frame, so treat the wheels as a ramp tool and strap it through the tie-down points like any other box.
Budget Wheeled: Coleman Xtreme 62-Quart 5-Day Wheeled
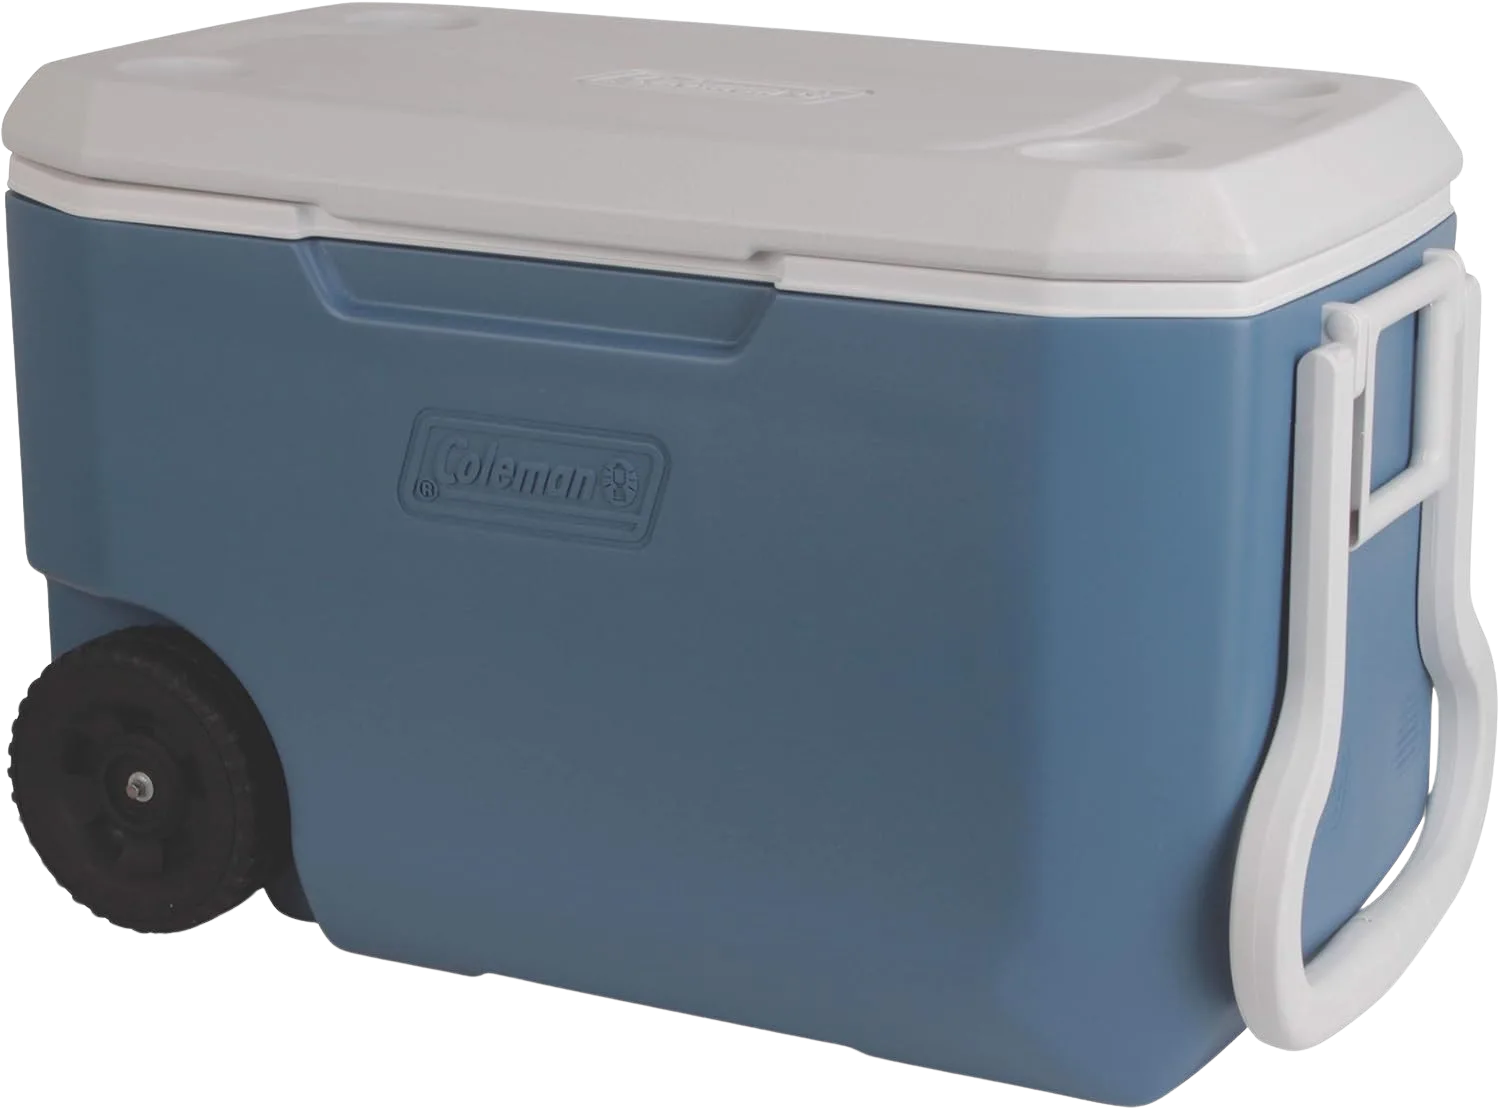
The Coleman Xtreme wheeled is the entry-level version of the same idea. It will not hold ice like the RollR, but if your main pain point is the carry and not multi-day cold, it gets a loaded box to the water without a partner and without the premium spend. Pack extra ice and lean on it for shorter trips.
Best Small Cooler for Day Trips and Dry Storage
You do not need a hundred quarts for a day float. The right small box keeps drinks cold and, if it seals well, doubles as protection for the gear you cannot get wet.
Best Day Trip: Engel 19-Quart Leak-Proof Drybox Cooler
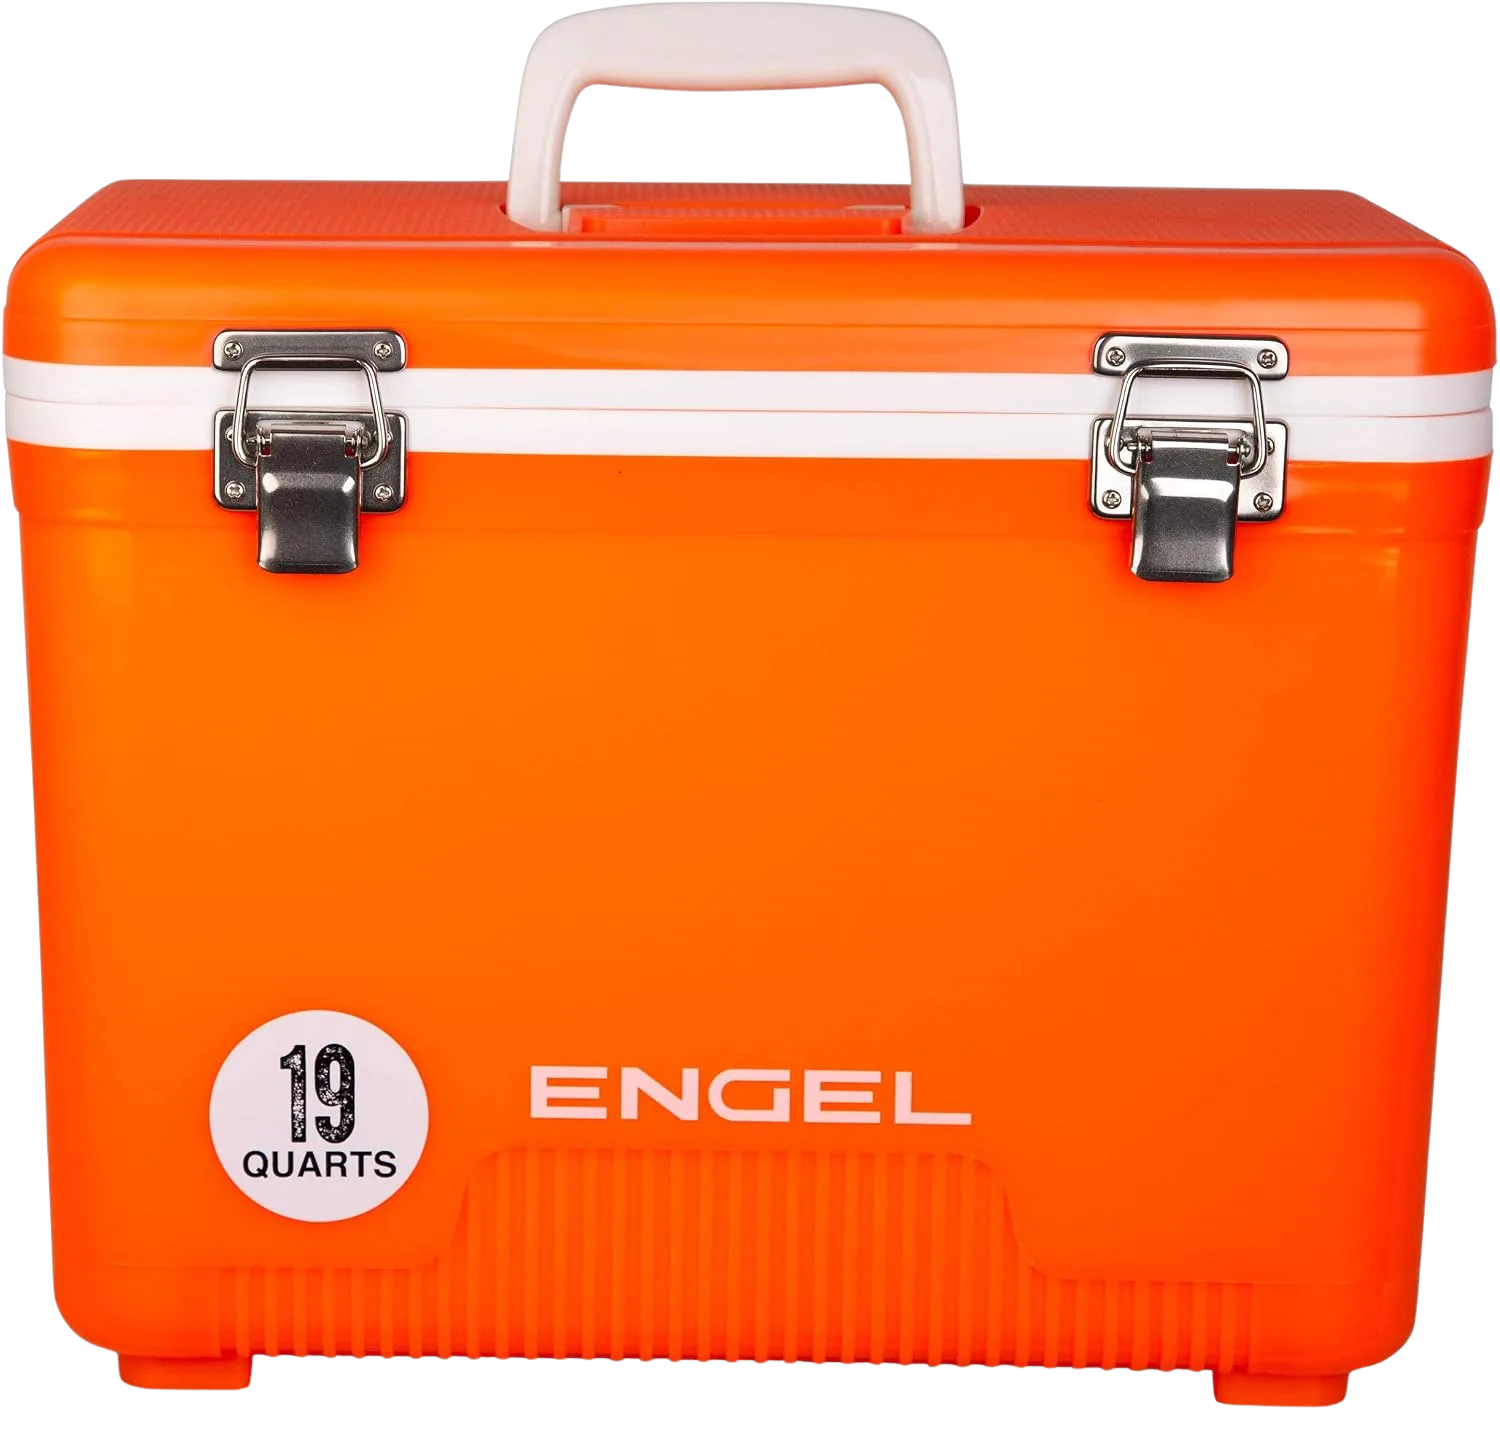
The Engel 19 is the do-it-all small box for day runs. The leak-proof gasket is the feature that sets it apart, because it means the same box that holds your lunch can protect a camera or a phone when the waves start breaking over the tubes. Whether you call it a cooler or an ice chest, for a single day you do not need much. A compact hard cooler like this, or even a soft cooler for a short warm float, is often all you need, and this one earns its spot on the frame twice over.
Packing Ice Like a Guide and Keeping Food Safe
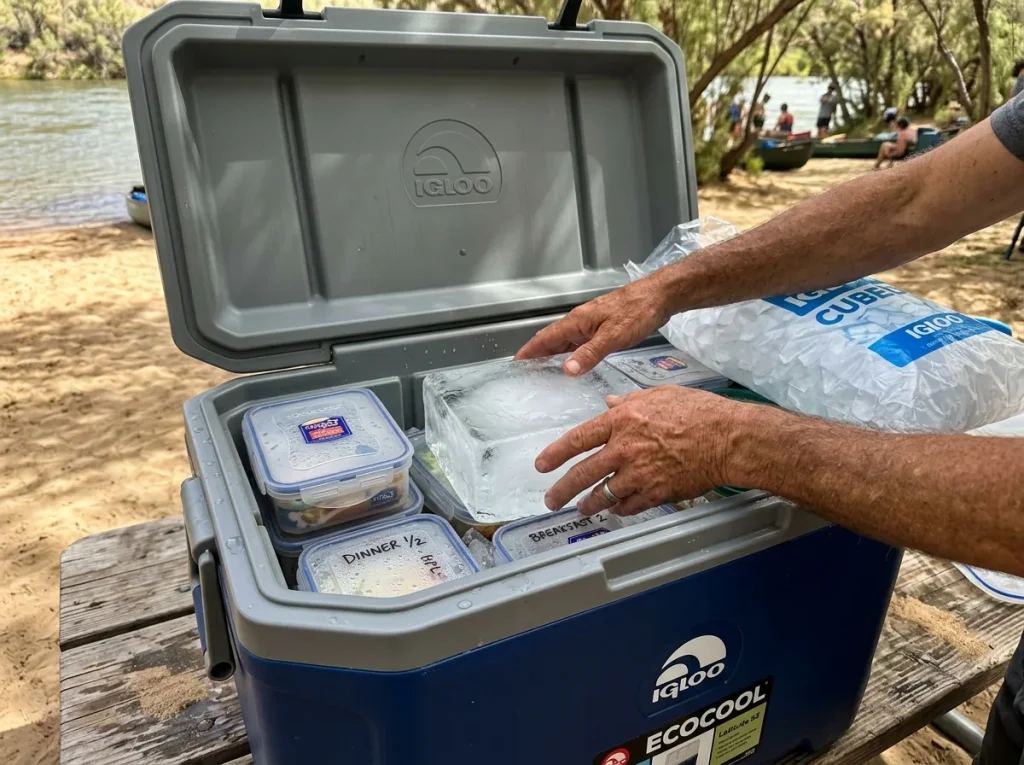
The best cooler on the river still fails if you pack it like a car trip. This is the part that barely shows up in other guides, and it is exactly what separates a guide’s routine from a first-timer’s.
Start with the number that should scare you a little. Bacteria in the Danger Zone, between 40°F and 140°F, can double in as little as 20 minutes. On a hot put-in that clock starts before you have even pushed off, which is why the USDA’s food-safety Danger Zone guidelines are not just kitchen paranoia. Perishable food should not sit in that range more than two hours, and the FDA’s guidance on handling food safely outdoors cuts that to one hour when the air is above 90°F. A desert August put-in on Cataract or the Grand Canyon halves your safe prep window compared with a cold spring snowmelt run, so pack and serve accordingly.
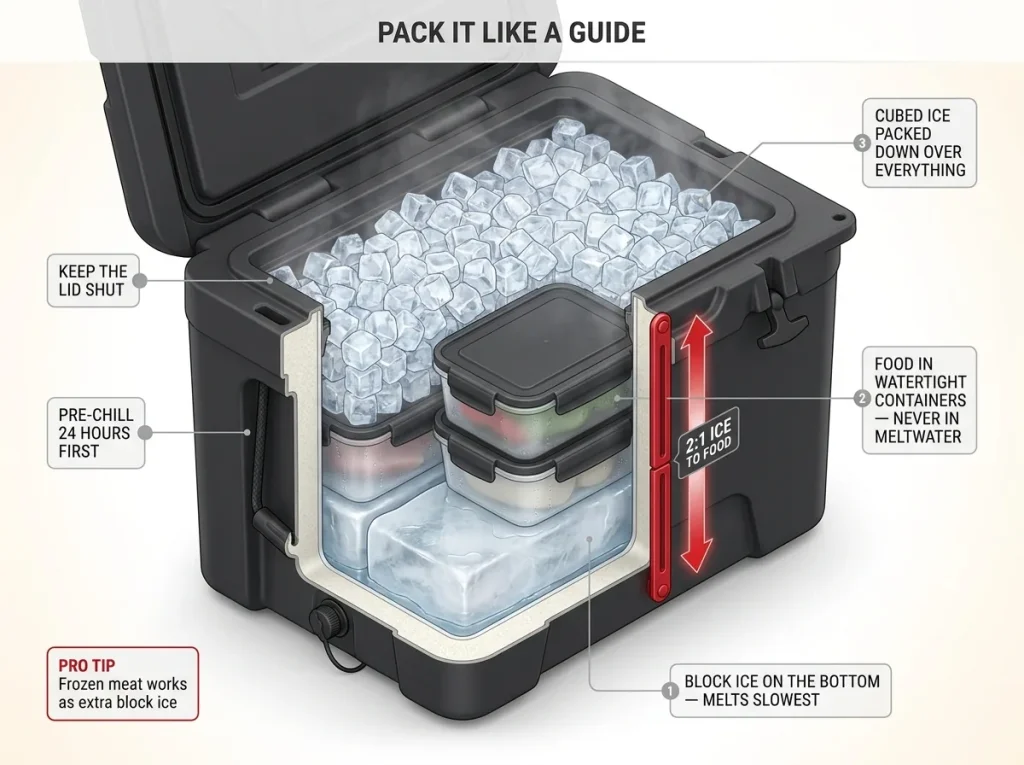
Now the technique. Pre-chill the cooler for 24 hours before you load it, so you are not spending day-one ice just cooling the box. Lay block ice on the bottom, because it melts slower and lasts longer than cubes. Put food in watertight containers so it never sits in meltwater, then top with cubed ice packed down over everything.
This is the reasoning behind the 2:1 ice-to-food ratio veteran boaters use: it is margin against a hot afternoon in camp, not superstition. Keep perishables at or below 40°F with several inches of ice, and your food cooler carries a real safety buffer instead of a hopeful one.
The seasonal math changes the load. A cold spring run needs less ice and a simpler pack. A high-heat desert canyon in midsummer wants the full block-ice-first treatment, extra ice, and disciplined lid management. Match the pack to the season, then plan your river meals around those cooler temps so the perishable stuff gets eaten early while the margin is highest.
Freeze what you can before the trip. Meat frozen solid acts as extra block ice for the first day or two, then thaws right when you are ready to cook it. Plan your menu so the frozen meals come out last, and you stretch your ice and eat better doing it.
After the trip, drop the ice, drain it, and dry the gasket and air it out before you store the box, so it does not come out of the garage smelling like last season’s leftovers.
The Bottom Line on Rafting Coolers
Match the cooler to the trip length, not the marketing. A weekend crew does not need a week of ice retention, and a big expedition box is dead weight and a lifting problem if your runs are short.
Check the frame-lip fit and the tie-down slots before you buy, because a cooler that will not seat on your frame or take a strap through its shell is a car-camping box wearing a river costume. And remember the ice trick matters as much as the box: pre-chill, block ice on the bottom, food in watertight containers.
Before your next multi-day, do a dry-run rig at home. Drop the cooler on the frame, route the straps through the slots, and make sure the lid still opens with everything cinched down. Far better to find the fit problem in the driveway than at the put-in with the shuttle waiting.
Frequently Asked Questions
01What size cooler do I need for a multi-day rafting trip?
For a two to four person weekend, a 50 to 65-quart cooler covers food and drinks. A week-long expedition crew usually runs 100-plus quarts, often split into separate food and drink coolers. Size down if you are lifting it solo, since a loaded 100-quart box can top 150 pounds.
02How long will ice last in a cooler on a rafting trip?
A rotomolded cooler holds ice roughly five to ten days in real use, while an injection-molded box typically manages one to four. Pre-chilling the cooler 24 hours and layering block ice on the bottom stretches either one meaningfully.
03Do I need a bear-resistant cooler for river trips?
Only on runs whose permit requires certified storage, and you have to match the exact model against the IGBC list since not every cooler qualifies. Many popular runs, including Cataract Canyon, require general wildlife-proof security rather than a certified cooler. Check your specific permit or ranger station.
04Are rotomolded coolers worth the extra cost for rafting?
For multi-day trips in heat, yes. The ice retention and flip durability justify the price. For a hot weekend where you just need drinks cold, an injection-molded cooler is genuinely fine, so do not overpay for days of ice you will not use.
05How do you strap a cooler to a raft frame?
Route cam straps through the cooler’s molded tie-down slots, not around the lid or handles, so it stays put in a flip and the lid still opens. A cooler without a frame lip needs an added mount or sling to seat on the frame first.