
In this article
You bolt the whole thing together in the driveway, crank every U-bolt as tight as the wrench will go, and it feels solid as a park bench. Then halfway through the first wave train the frame starts wobbling side to side like a card table with one short leg. That twist has a name, racking, and it’s almost never a loose-bolt problem. Get the material, the measuring, and the assembly order right, and you build a raft frame that stays square from the first rapid to the take-out.
Measure Your Raft Before You Cut Anything
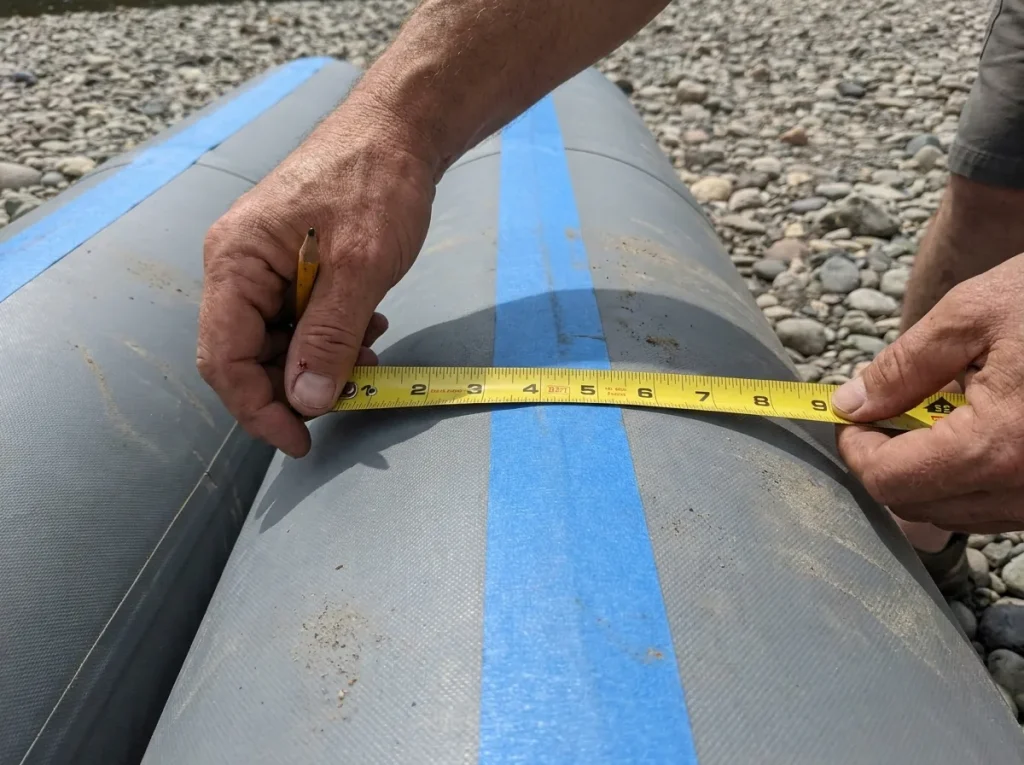
Every frame that comes up short in the brackets started with a bad measurement, not a bad cut. Before you touch a tape measure, know which of the three main raft frame types you’re building toward, because a fishing frame, a cargo frame, and a stripped-down day rig all size differently off the same boat.
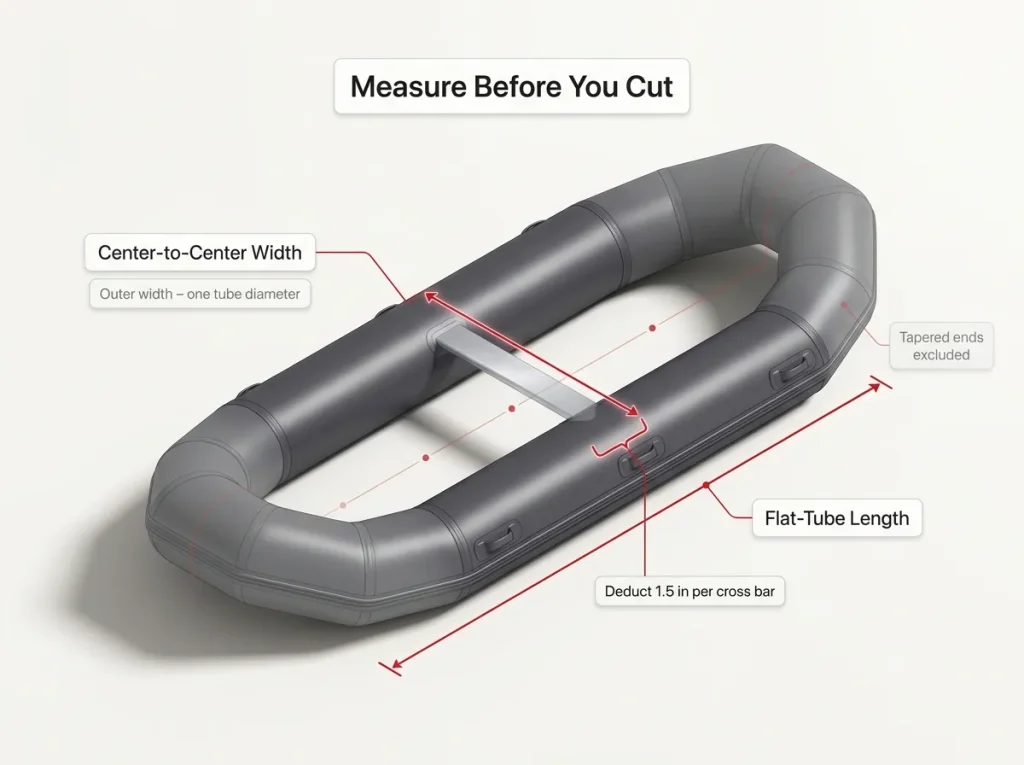
The number that actually orders your cross bars is center-to-center width. That’s the raft’s outer tube-to-tube width minus one tube diameter, or measure straight across from one tube centerline to the other. Use the outer width as-is and every cross bar comes out too short to seat in the rail brackets.
Frame length runs off the flat-tube length, the relatively flat top section of the tube, not the raft’s full curved length. The tapered bow and stern aren’t usable frame real estate. Measure the whole boat and you’ll spec a frame too long to sit flush.
Here’s the math step people skip: each cross bar eats about 1.5 inches of frame length. A five-crossbar frame loses 7.5 inches total, and you subtract that before you divide up your bay widths. Skip it and your last bay comes up short by nearly a cooler lid.
Cut your side rails longer than the plan calls for. A rail cut short is scrap; a rail cut an inch long trims down in thirty seconds. When in doubt, leave it long and shave it once the frame is dry-fit on the boat.
Pick Your Frame Material and Connectors
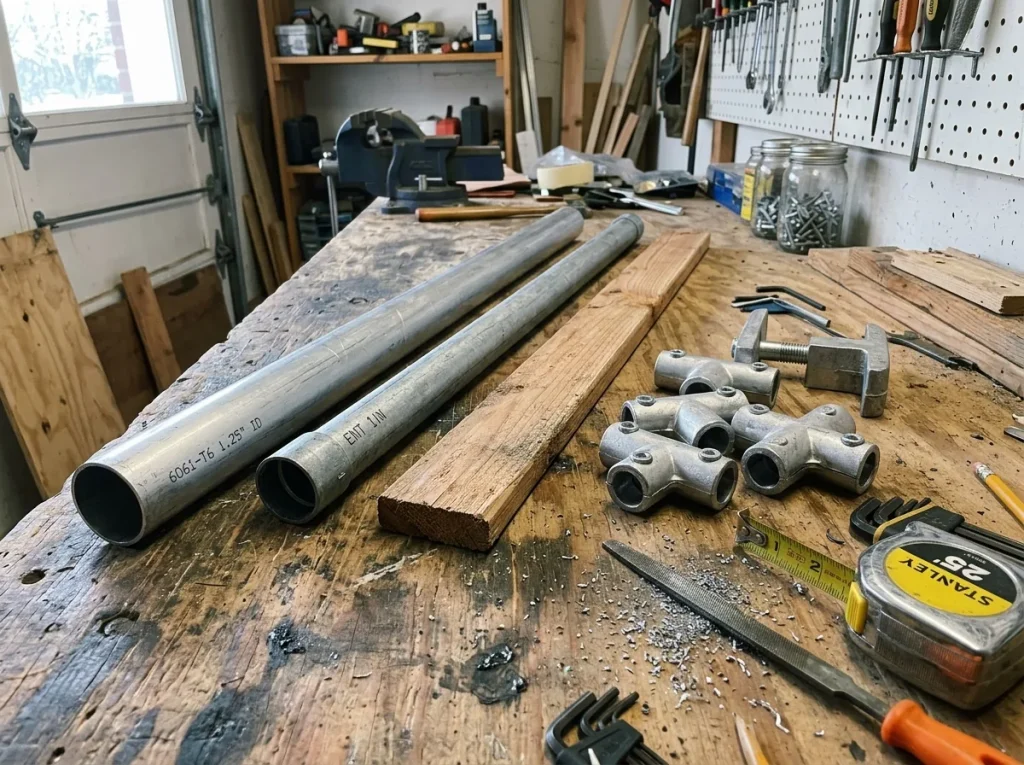
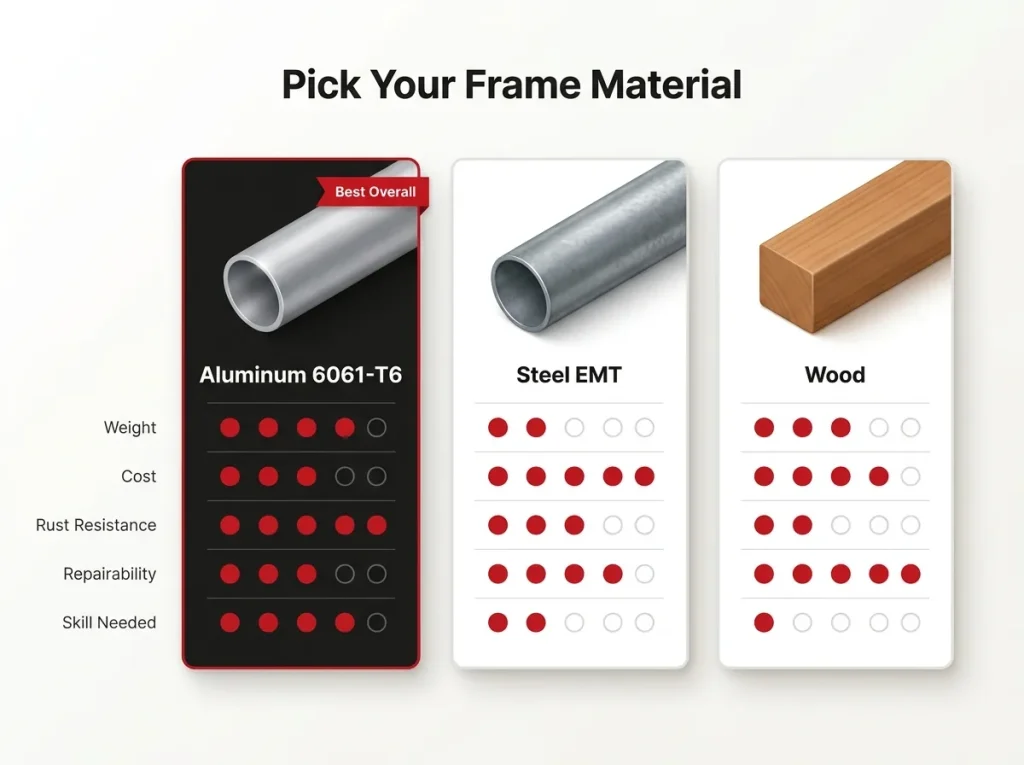
Three materials do the job, and the honest ranking is short. Aluminum (6061-T6, Schedule 40, 1-1/4-inch pipe) is the standard for a reason: lighter, rust-free, and you’ll thank yourself hauling it down a long put-in trail. It costs more up front. Steel EMT conduit runs about $11 for a 10-foot length, which makes it the learn-on-this material where a miscut is a shrug, not a $60 mistake. Wood like cedar or redwood is a distant third, mostly for builders who want the look and don’t mind the upkeep.
You’ll source structural 6061-T6 aluminum pipe from a metal supplier or hardware channel, not a river shop, so buy the diameter your connectors are built for and don’t mix sizes.
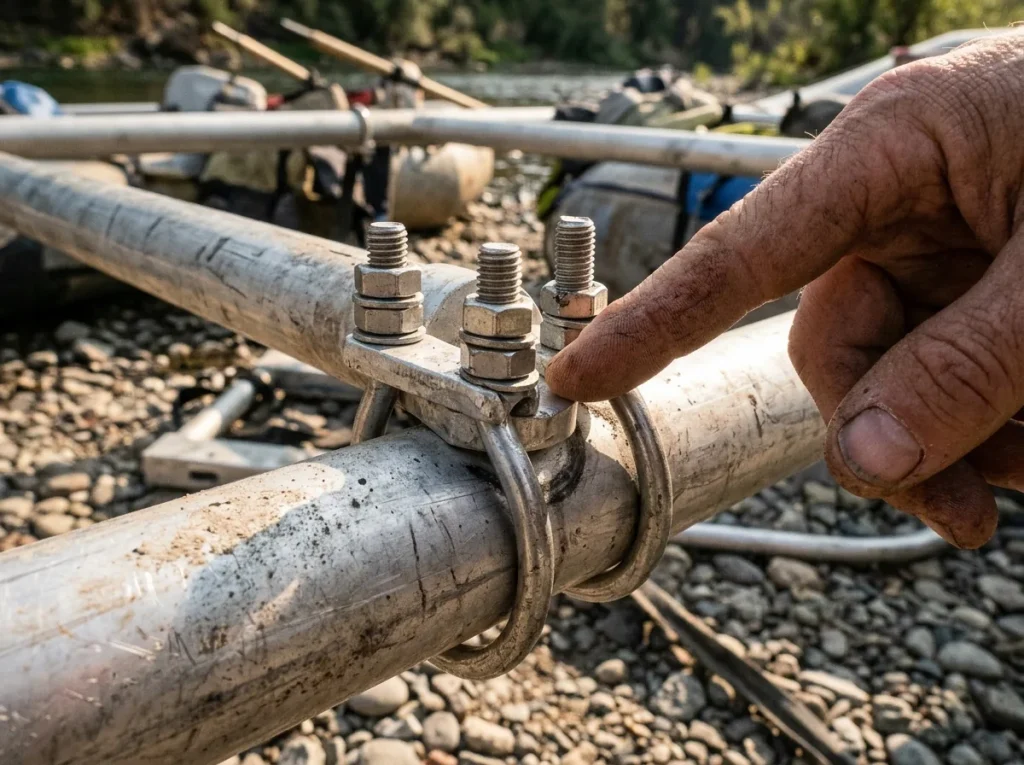
Connectors split three ways. Bolted joints, U-bolts through drilled rails, are the most DIY-friendly and the easiest to fix on a gravel bar. Welded frames are the strongest and cleanest, but they’re permanent and you need a welder. Clamped fittings like LoPro or speed-rail go together fast, and they hide a trap.
Clamp-style fittings that grip bare tube can crush and deform it unless you slide a wood dowel inside the tube at the clamp point. That deformation is the real story behind a frame that was tight in the shop and loose on the river. The clamp didn’t back out; the tube collapsed under it.
One more pairing detail nobody mentions: galvanized steel hardware against aluminum tube leaves black corrosion marks and speeds up galvanic wear where the two metals touch. Run stainless hardware on an aluminum frame and you skip the problem entirely. If you’d rather buy than fabricate, a bolt-together aluminum frame from NRS or DRE gets you the same geometry without the drill press.
What Building It Yourself Really Saves
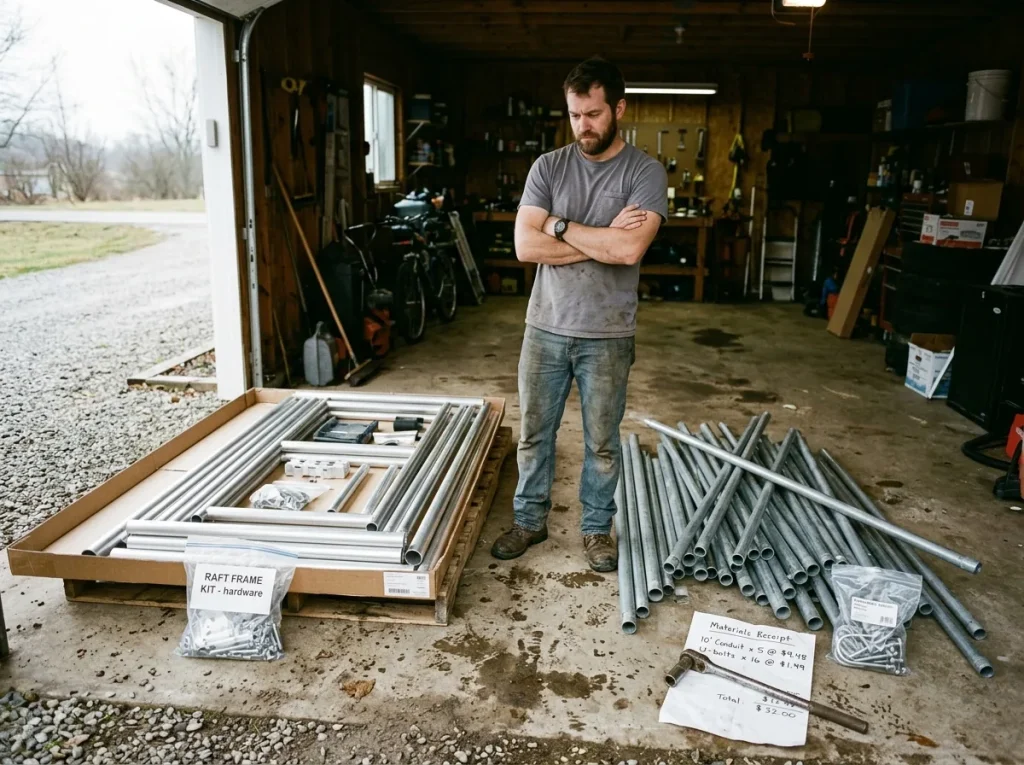
The DIY-saves-money pitch is real, but it’s a lot smaller than builders make it sound, and there’s one number that reframes the whole thing. You’re actually looking at three price points, not one.
A DIY EMT or aluminum build runs roughly $340 in materials. A budget bolt-together commercial frame runs $500 and up. And a premium modular aluminum base runs about $2,600 to $2,725 for a three-to-four-bay setup, with cataraft frames climbing higher from there. Those three tiers change the math completely depending on which one you’re comparing against.
Against the budget commercial frame, DIY saves you only about 30 to 35 percent, and only once you already own the tools. Add welding cost, a weekend of build time, and the fact that a homemade frame holds almost no resale value, and that gap closes fast. This is where the frame cost most cataraft buyers don’t see coming is worth reading before you commit either way.
Where DIY genuinely wins is against the premium tier, where you’re saving six to eight times the build cost. So the honest verdict splits by plan: build it yourself to learn the boat and to dodge premium prices; buy the budget kit if you think you’ll want to resell in two or three years. Saving $160 on materials while rebuilding the frame twice isn’t saving money, it’s paying in weekends.
Assemble the Frame in the Right Order
Competitors list the assembly steps. Almost none explain why the order matters, which is exactly the knowledge that keeps you from unbolting the whole thing and starting over.
Hand-Thread First, Wrench Second
Thread every bolt through both holes by hand before a wrench touches anything. Hand-threading catches a misaligned cross bar while it’s still adjustable, before torque locks it into a warped position. Once you’ve cranked down on a crooked joint, you’re backing it all out to fix it.
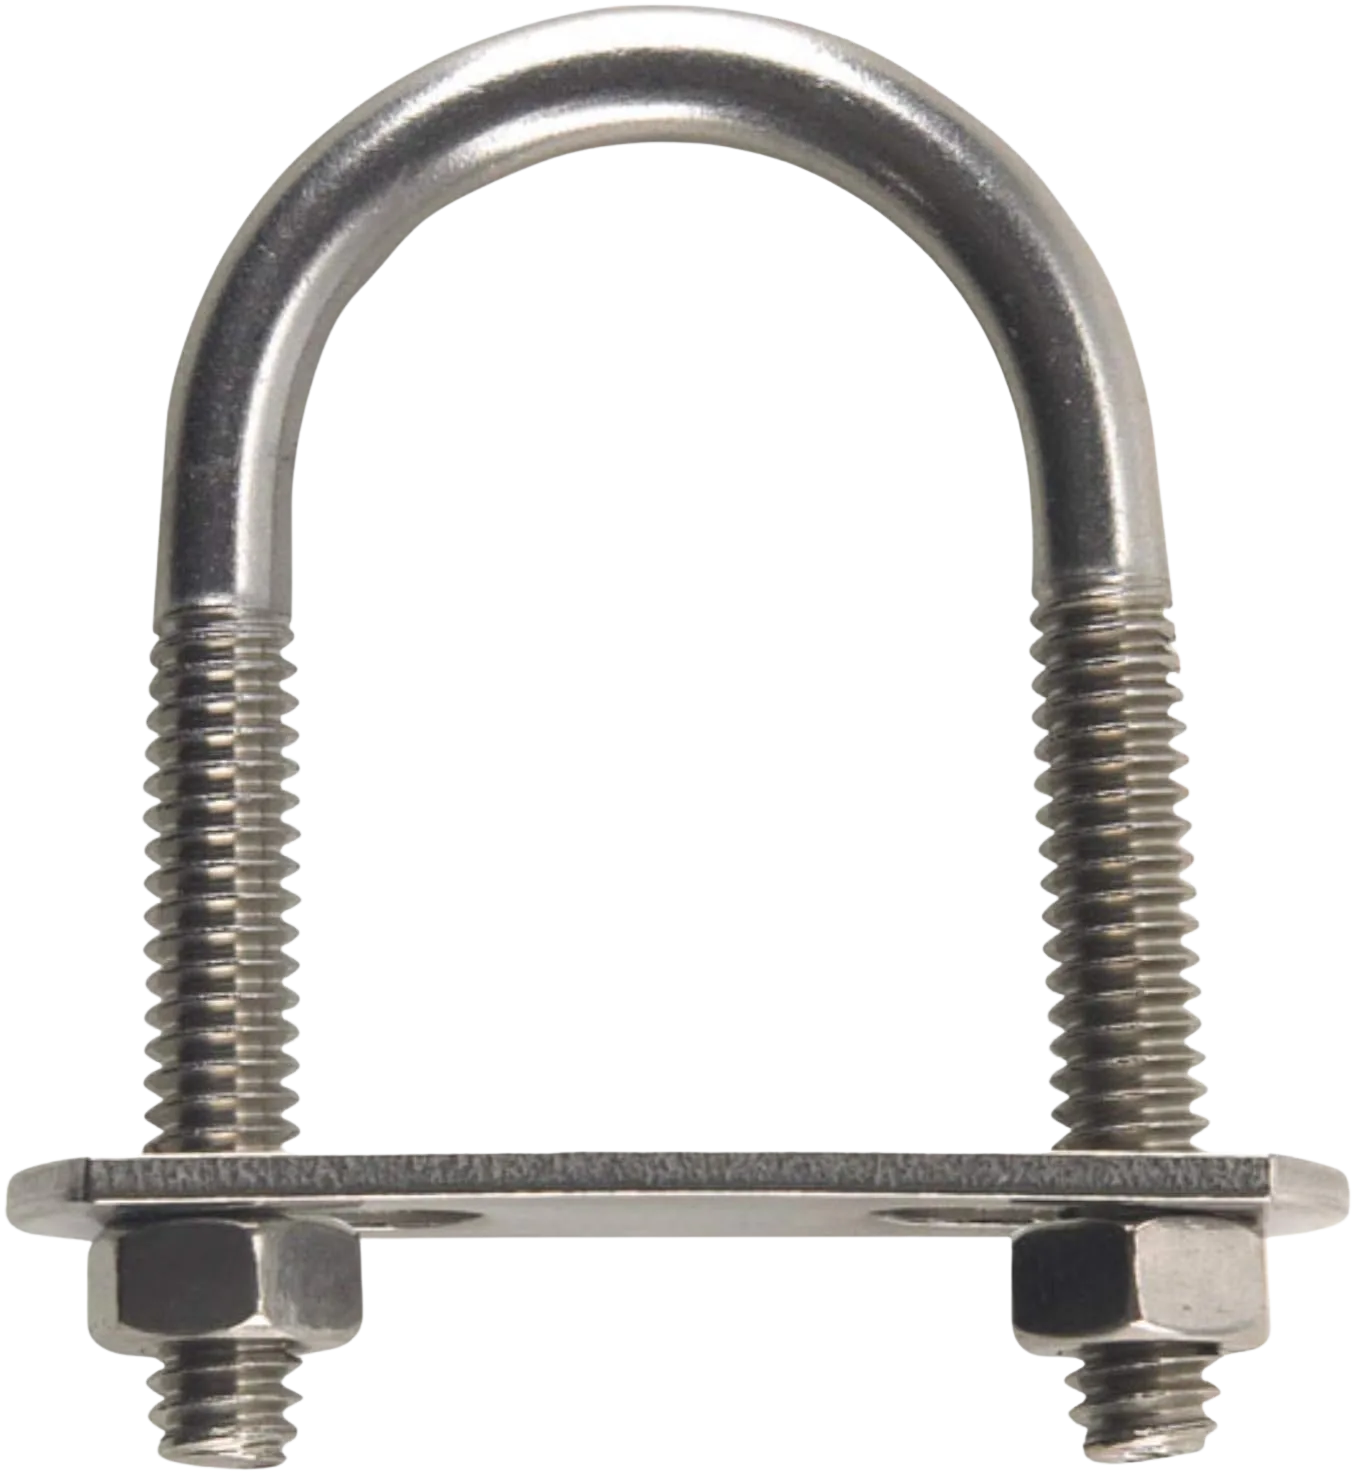
Buy the stainless U-bolts sized to your pipe and match the locknuts and washers to them. On a 1-1/4-inch aluminum rail, stainless is the difference between a joint you inspect once a season and one that’s crusted black by the second trip.
Box Every Side So It Can’t Rack
This is the one that fixes the wobble from the intro. Box every dimension of the frame, meaning tube every rectangle, and never leave the front end held by a single cross bar like the foot bar. An unboxed frame racks under rowing load even when every bolt is torqued perfectly, because the twist is a geometry problem, not a tightness problem.
The fix is a fourth tube to close the box, not another quarter-turn on the wrench. Once all four sides of each rectangle are tubed, the frame has nowhere to fold, and that side-to-side card-table wobble disappears.
Alternate-tighten your U-bolts like lug nuts on a wheel, snugging opposite sides in steps instead of cranking one all the way down before you start the next. That even, sequential torque sequence keeps the cross bar seated square instead of pulling it crooked.
Torque, Thread Locker, and Stripped Aluminum
Thread locker changes how much friction is in the joint, so it effectively over-tightens a bolt torqued to the dry spec. Run thread locker and torque to the dry number and you’ll strip soft aluminum threads while doing everything else right. The fix is simple: drop your torque roughly 30 percent when you’re using thread locker.
Tools and Hardware Checklist
You don’t need a machine shop. A tape measure, a hacksaw or pipe cutter, a drill, a ratchet with the right socket, a deburring file, and a rubber mallet cover most of a bolted build. The one tool worth buying right is a good stepped drill bit, because a ragged or cracked hole is where straps and mounts start to fail later. A titanium-coated step drill bit set walks less on the tube and cuts a clean hole in aluminum or steel without grabbing.
Space the Cross Bars into Bays
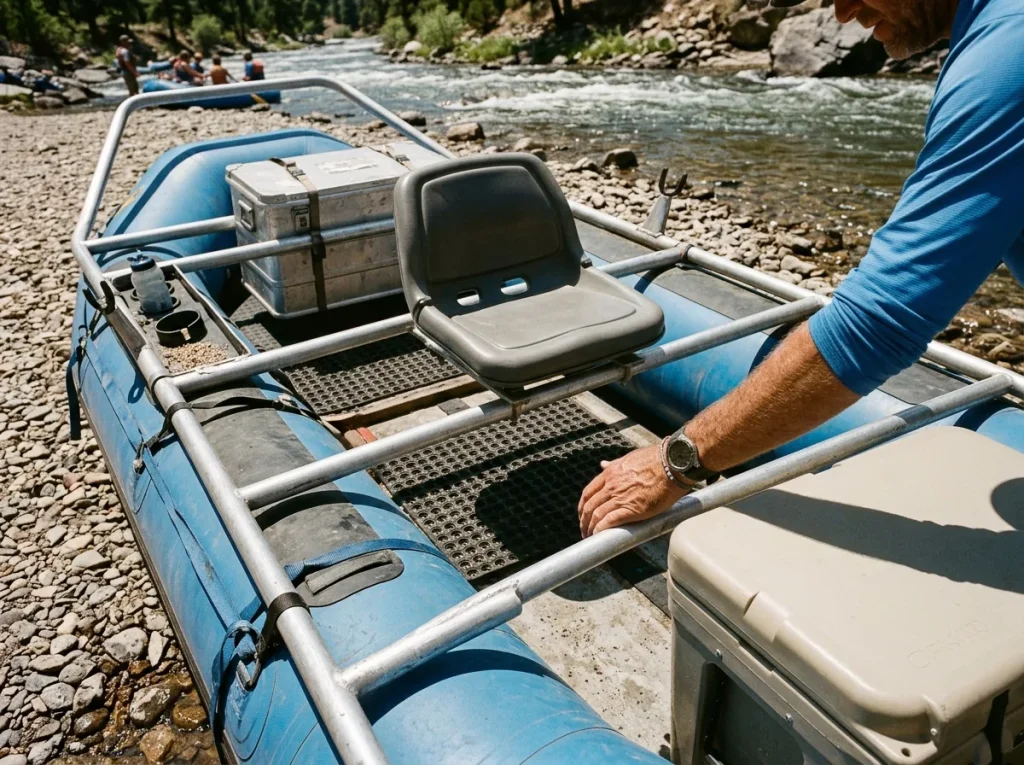
A frame that fit the last owner perfectly can leave you knees-in-chest or unable to reach a full stroke, because bay spacing is built around the rower and the load, not a fixed template. Lay the whole deck out dry before you commit a single position.
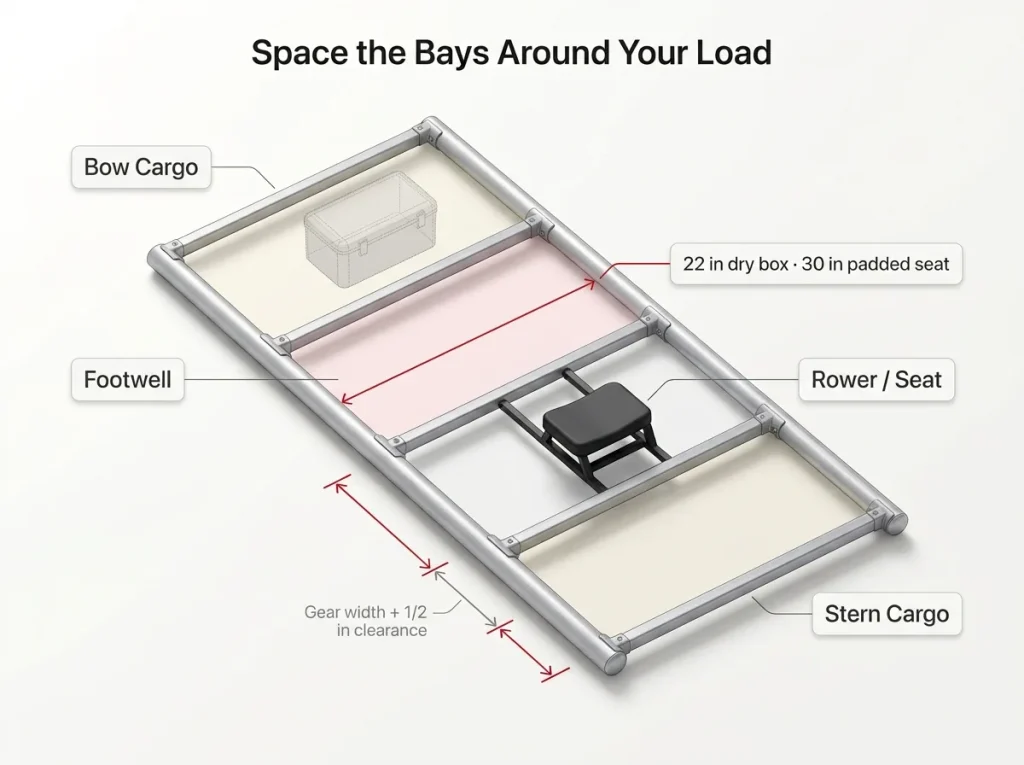
Start with the footwell, the open space in front of the rowing seat. Figure about 22 inches when you’re rowing off a dry box, cooler, or flip seat, and closer to 30 inches for a padded seat bolted straight to a cross bar. Tall rowers push toward 24, shorter rowers pull back toward 20. Measure the person who’s actually going to row most.
Then size your cargo bays to the gear that rides in them. Each bay wants your cooler or dry-box width plus about a half-inch of clearance so it drops in and lifts out without a wrestling match. When you rig a dry box that stays put through a flip, that half-inch is what lets you seat it fast at camp instead of forcing it.
Aim for drop-in, not press-fit. A bay cut a half-inch tight means fighting a full cooler in and out at every camp; a half-inch loose lets it slide around under way. Set your loaded gear in the frame and mark the bar positions before you drill.
Mount the Oar Towers, Seat, and Foot Bar
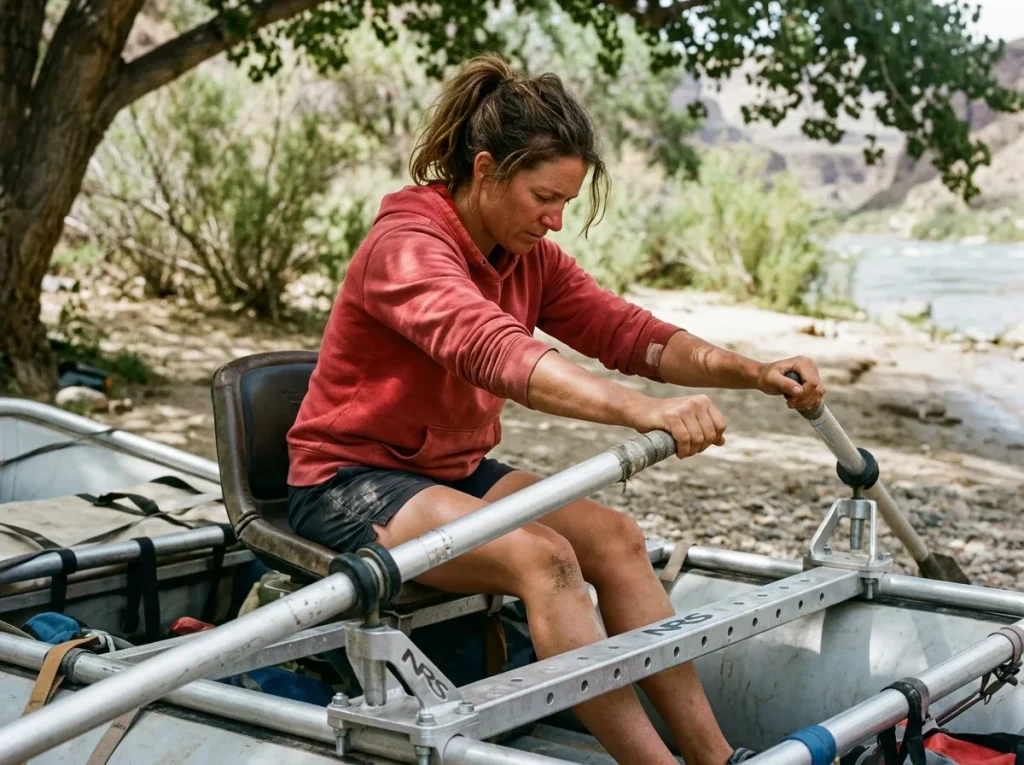
Oar towers go on last, after the seat is mounted and you’ve test-fit the stroke, and there’s a reason for that sequence. Tower position follows where the rower actually sits and reaches, so mounting towers first risks a spot that’s symmetric on paper and wrong on the water.
Tower height sets your oar angle. Sight it with the blade in the water plane and the shaft crossing roughly at knee level, then check it before you commit. A ready-made mount like the NRS 8 Inch Oar Mount drops onto a drilled cross bar and saves you fabricating towers from scratch, and a molded oar sleeve protects the shaft where it rides in the mount so you don’t wear a flat spot into it over a season.
Before you final-tighten anything, do a ghost row. Sit in the seat with the oars in the locks and run through the full stroke on dry land. A tower that looks right when you eyeball it can still feel cramped or long once you’re actually pulling, and the ghost row catches it while the fix is still free. When you’re dialing in tower and oarlock choices, the details in oarlocks, towers, and oar rights that actually fit save you a second parts order.
The foot bar mounts where your feet brace at full extension, which ties straight back to the footwell number you set in the last section. Get those two talking to each other and the rowing position falls into place.
Strap the Finished Frame to Your Raft
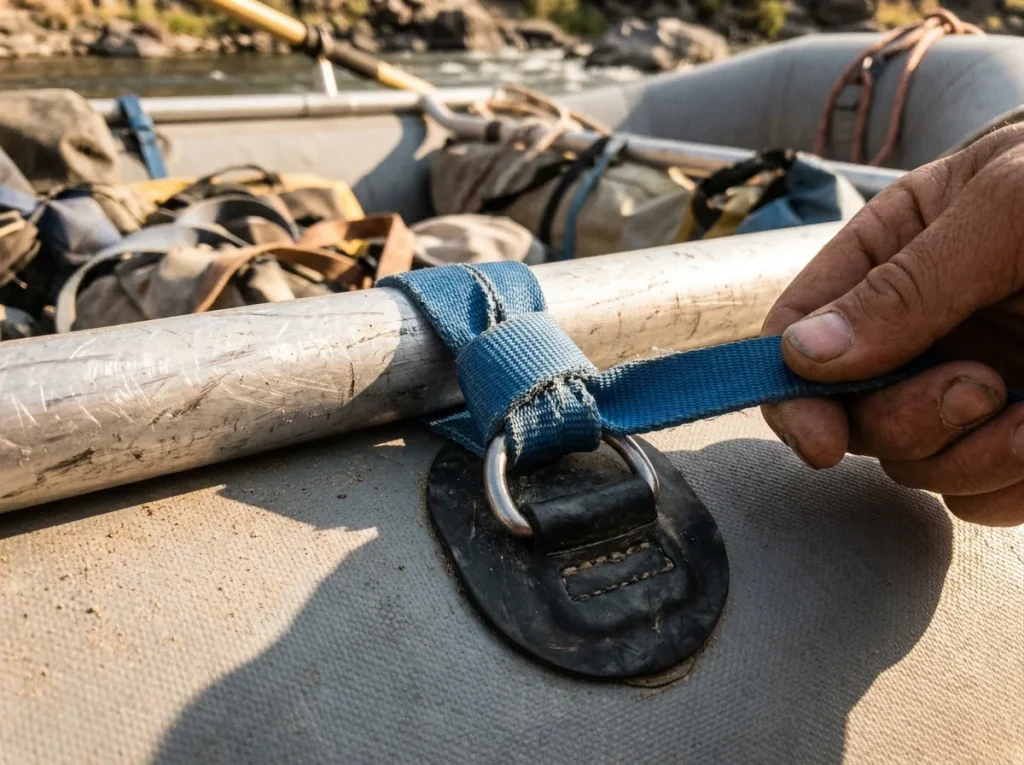
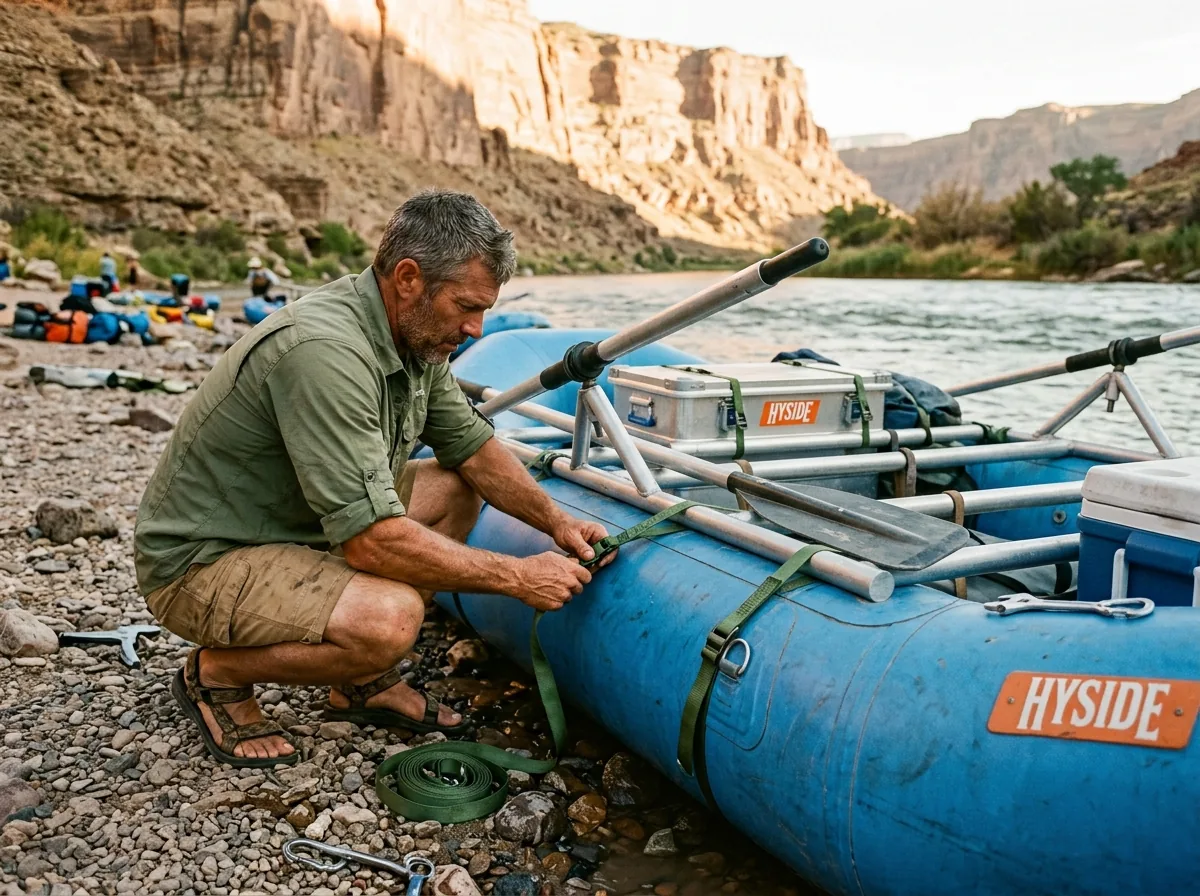
The frame is built; now it can’t shift under you. Secure it to the raft’s D-rings with rated straps: girth-hitch a loop strap through each D-ring and over the rail so the frame can’t walk fore-aft or side-to-side. Use straps rated by working load limit, or WLL, which is the safe pull strength, well below the breaking number. Snug them, then re-check after the first few miles, because new webbing seats and loosens a touch. Full counter-tension rigging, the diagonal cam-strap pattern that keeps a frame locked through a flip, is its own subject worth doing right: follow the full rigger’s method for counter-tensioning a frame for the technique, and rigging a raft to survive a flip for the balanced-load thinking behind it.
Mount Coolers, Tables, and the Rest of Your Kit
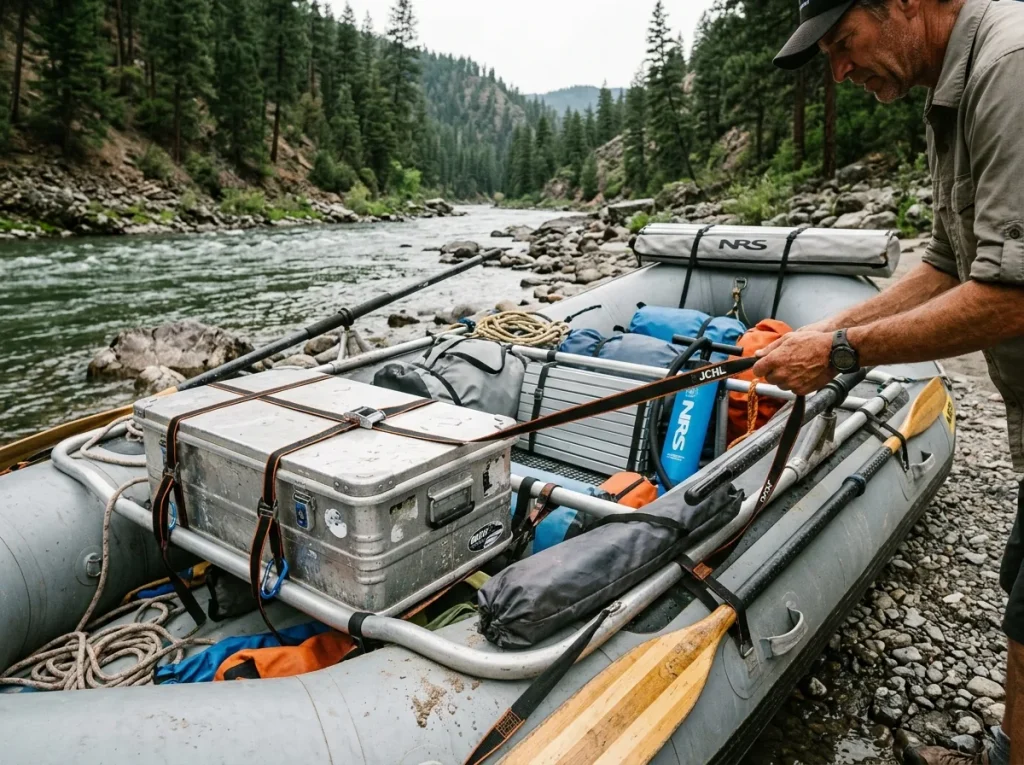
Here’s where every build guide stops and a real trip keeps going. A multi-day frame carries a cooler, a dry box, a kitchen table, a pump, sometimes a motor mount, and tool mounting past the oars comes down to straps, not brackets.
Cam straps are the workhorse. A cam-buckle strap cinches fast and releases with cold, wet hands, no ratchet to fuss with. A heavy-duty 1-inch cam strap holds a cooler or dry box down in its bay, and a set of 1-inch HD tie-down straps covers the rest of the deck. Run one over every heavy item and into the buckle, and nothing moves when you drop into a hole.
The mounts most first-timers forget are the required ones. The National Park Service’s noncommercial river trip regulations for Grand Canyon require every oar-powered raft to carry a complete spare oar, and BLM stipulations on runs like Westwater add a bail bucket or bilge pump for non-self-bailing boats. That’s two frame-mountable safety items to plan bays for, not one, and “a spare oar somewhere in the boat” doesn’t satisfy the intent when you actually pop a blade. Build a dedicated spare-oar mount along the rail, and if you’re still choosing blades, what most rafters get wrong about oars is worth a read.
Tables, propane and kitchen-box anchor points, and a pump you can mount and reach from the rower’s seat all strap into open bays too. Plan a bay for each of them now instead of improvising a lash job at camp in the dark.
Watch your chafe points. A strap run over a bare tube edge will wear through in a single season. Pad the corner or route the strap off the sharp edge, and check every strap where it crosses metal at the end of each trip.
Where Raft Frame Builds Go Wrong
Name the mistake before the fix. These are the failure modes that actually happen, and the ones the happy-path guides never warn you about.
The frame won’t sit square. That’s racking, and the cause is an unboxed dimension, not loose bolts. Add the fourth tube to close the box; cranking harder just strips threads and leaves the twist.
Bolts back out on the drive in. Washboard forest roads vibrate untreated fasteners loose before you ever launch. Thread locker plus a quick re-torque check at the put-in fixes it, and almost no build guide mentions either. Make the re-torque part of your launch routine, right alongside airing up.
Stripped aluminum threads. This is the thread-locker-and-dry-torque combo from the assembly section biting you late. Drop the torque about 30 percent when you use thread locker and the threads survive.
Clamp fittings gone loose. If you went with clamped connectors and one works loose, the tube likely crushed under the clamp. Slide in the wood dowel insert and re-clamp.
Chafed straps. Straps run over bare tube edges wear through where the metal bites. Pad or reroute them, and pay attention to whatever you rig low and tight to the frame, since that’s usually where the rubbing starts.
Conclusion
Build a frame that lasts and it comes down to three habits. Measure center-to-center and flat-tube length first, cut your rails long, and box every side so the thing physically can’t rack. Hand-thread, alternate-tighten, thread-lock at reduced torque, and re-check the bolts before every put-in. And plan your bays around what actually rides on the frame, cooler, dry box, spare oar, and pump, before you drill a single hole.
Then load the whole rig dry in the driveway and ghost-row it before it ever sees water. The frame tells you what’s wrong on dry land, where fixing it costs you nothing but a little time.
Frequently Asked Questions
01What is the best material for a raft frame, aluminum or steel?
Aluminum 6061-T6 for most builders. It’s lighter and rust-free, and the weight savings matter every time you carry it to the put-in. Steel EMT conduit is the cheapest way to learn on a first frame, but it’s heavier and it rusts.
02How much does it cost to build your own raft frame?
Roughly $340 in materials for a DIY EMT or aluminum build, versus $500 and up for a budget commercial frame. DIY only saves about 30 to 35 percent once you own the tools, and it mainly pays off against premium kits running $2,600-plus.
03What size should a raft frame be for my raft?
Set cross-bar length by center-to-center width, the outer tube-to-tube width minus one tube diameter. Set frame length by the flat-tube section, not the raft’s full curved length. Subtract about 1.5 inches per cross bar before dividing your bays.
04How do you attach a raft frame to a raft?
Girth-hitch rated loop straps through the raft’s D-rings and over the frame rails so it can’t shift fore-aft or side-to-side. Use working-load-limit rated webbing, snug it, then re-check after the first few miles as the straps seat.
05Do you need to weld a raft frame, or can you bolt it together?
You can bolt it. U-bolts through drilled rails is the standard DIY method and it’s field-repairable on a gravel bar. Welding is stronger and cleaner but permanent and needs a welder; most private boaters bolt or clamp instead.