
In this article
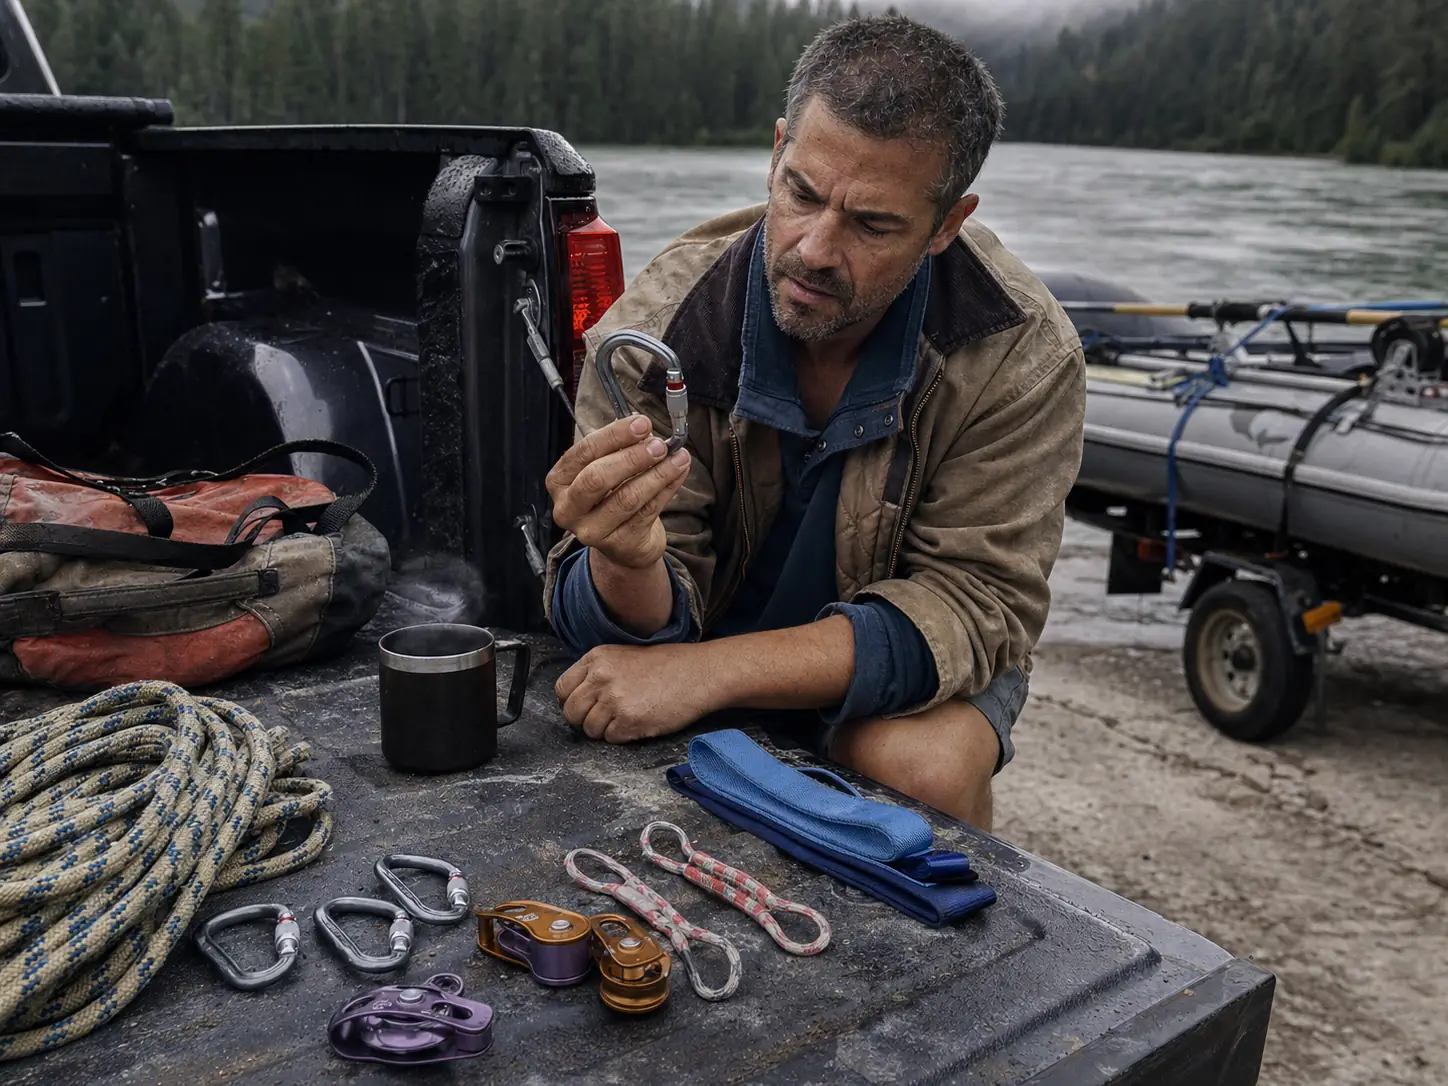
The raft stops dead against a rock mid-rapid, the upstream tube goes flat and dark under the current, and somebody digs out the bag that’s been riding in the frame for three seasons. Dump it on the rock and count the locking carabiners. If there are fewer than four, there is no 3:1 in that bag, and no amount of pulling is going to change it. The kit lists that circulate on whitewater forums and the pre-made kits sold by the big rescue outfitters converge on the same floor spec, and the carabiner count is the fastest way to tell whether you own a raft pin kit or a collection of hardware. Here’s what actually belongs in one, what changes because the boat is a raft instead of a kayak, how to read the pin before you rig anything, and whether building your own beats buying assembled.
What a Raft Pin Kit Has to Do That a Kayak Kit Doesn’t
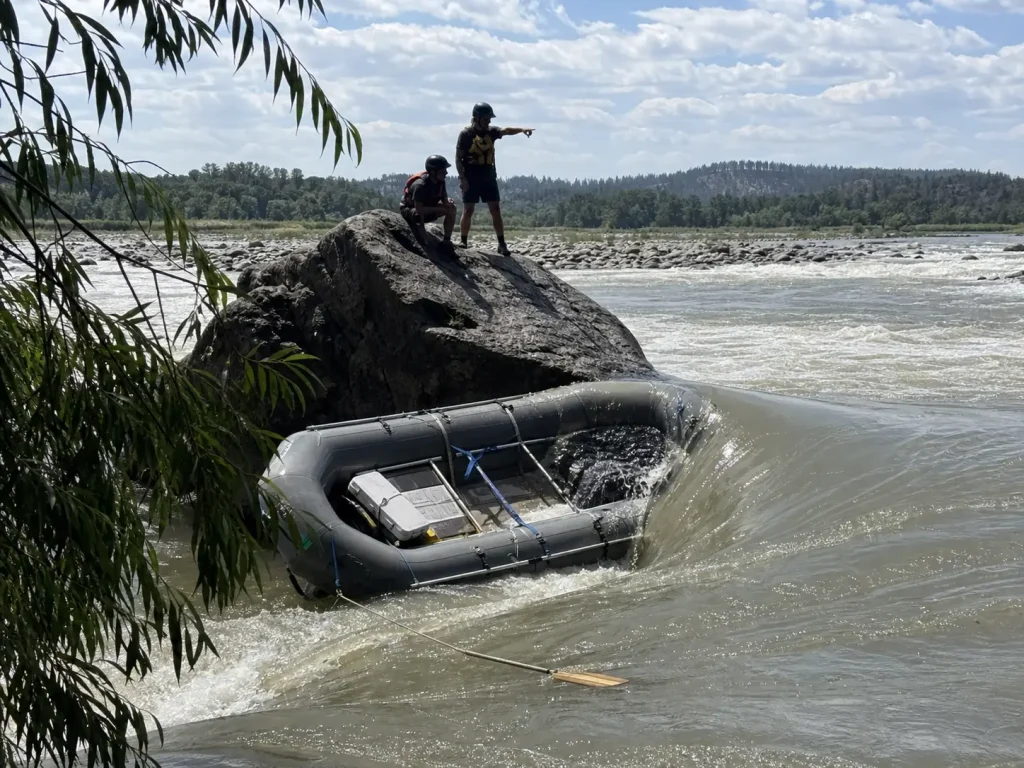
Every pin kit list on the internet gets recycled across boat types, which is how a paddler shopping for a raft ends up with a kayaker’s parts list. The problem is that a pinned raft is not a scaled-up version of a pinned kayak. It’s a different physics problem wearing the same vocabulary.
A loaded raft weighs what a kayak weighs several times over before the river adds anything, and the moment it stops moving, water starts piling in. That’s the part people underestimate. The boat that pinned at 400 pounds is holding considerably more than that thirty seconds later, and every pound of it is pressing the hull harder into the rock. Your kit isn’t fighting the boat. It’s fighting the river using the boat as a sail.
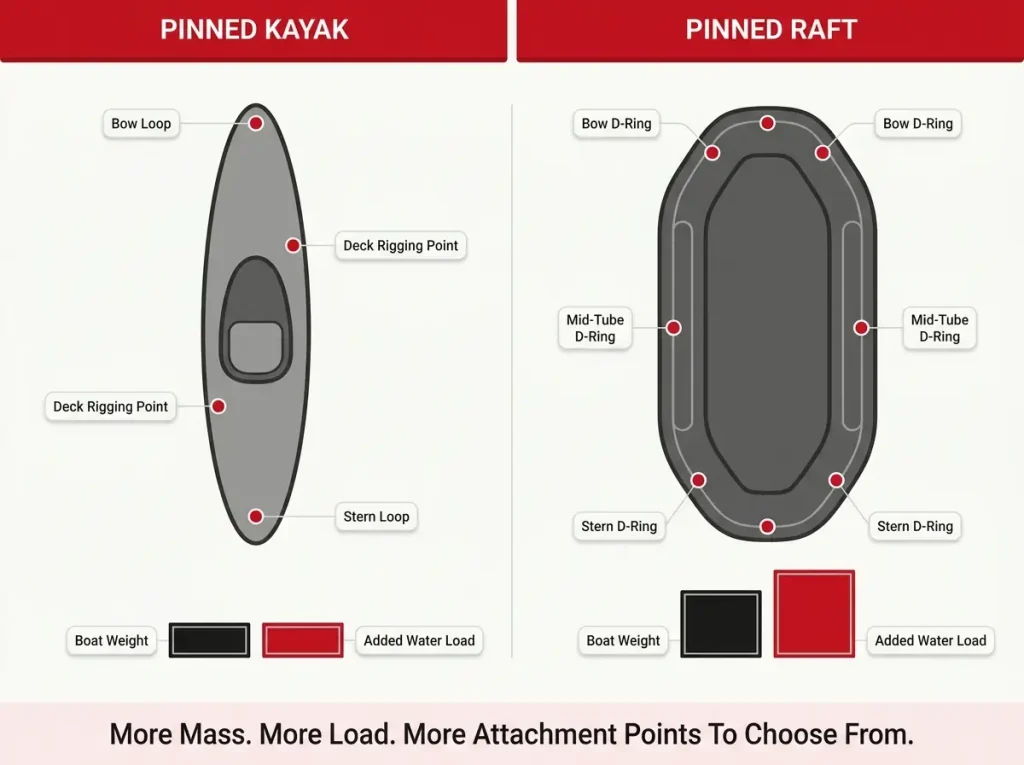
The raft does hand you one advantage the kayak doesn’t: attachment points. D-rings, thwarts, a frame if you’re rowing. That’s also the trap. Clip your haul line to a single downstream D-ring and you’re loading one patch of glued fabric with the force meant to move the entire boat. Experienced boaters spread that load or pick a point that pulls the hull rather than the fitting.
This is why commercially assembled raft kits are built around 150 feet of 3/8 or 1/2 inch static rope instead of a 70-foot throw bag. The working length isn’t about strength, it’s about standing somewhere sensible. With 150 feet you can rig from the bank or from upstream. With 70 you’re setting up next to the hazard, which is exactly where nobody should be doing careful work. A pin kit is one piece of a larger system that also includes the rest of your rescue-side safety gear, and the whole system scales with how risk scales with river class.
One vocabulary note worth having straight before anything goes wrong. A pin is a boat stopped against an obstacle. A wrap is a boat folded around it, taco-style, usually after a pin nobody solved fast enough. Same kit, different sequence, and a wrap is the harder of the two by a wide margin.
The kit itself answers to three names and they all mean the same bag. Pin kit, wrap kit, and unpin kit get used interchangeably on the water, and the big rescue outfitters spell that last one un-pin kit on the box, so a search for one turns up the others. Don’t read a naming difference as a spec difference, because there isn’t one.
[CREATOR NOTE] Infographic Suggestion: Side-by-side diagram comparing a pinned kayak vs a pinned raft, showing relative mass, water load, and the number and location of attachment points on each. Type: comparison diagram.
The Four-Carabiner Floor
The number in the title isn’t a rule of thumb. It comes out of the rigging itself, and you can count it on your fingers.
A 3:1 system, the Z-rig or Z-drag most river rescue courses teach first, needs four locking carabiners minimum to build. One at the anchor. One for the redirect. One on the traveling prusik. One at the load end where the system meets the boat.
Take any of those four away and you don’t have a weaker system, you have an unbuildable one. A 2:1 system gets you out of trouble with less hardware, but it also gives you half the advantage on a boat that’s already winning. That’s why the carabiner count is the fastest audit of somebody’s kit: it’s the only component where being one short stops the whole thing cold. It’s also the number the 4:3:2:1:1 principle starts with, the shorthand kit list that circulates on the forums and puts carabiners at the front for exactly this reason.
Shape matters more than the catalog makes it look. A pear-shaped locker is the working default because the wide end takes multiple strands and a prusik without binding, which is the difference between clipping a knot, a rope, and a loop into one gate with cold hands and fighting the gate for a minute you don’t have. An oval carabiner is the wrong shape here: symmetrical, narrow, and prone to shifting your load onto the gate side. A D-shaped carabiner loads better than an oval by pushing force onto the spine, but the narrow end still crowds when three things need to share it. Buy pear for the anchor and the load end at minimum.
The lock is the second decision. A screwlock carabiner is lighter, cheaper, and asks you to remember one thing, which is fine when you rig at the kitchen table and less fine at a pin. An autolock carabiner closes itself, which is one less item on a list you’re running while somebody is shouting. Autolocks do foul with sand and grit, and river kits collect both, so whichever you pick becomes something you work through in the pre-season check rather than a set-and-forget choice.
Then there’s the marking. On a rescue-rated locker you’re looking for a kN number, and the two that matter are 22kN and 40kN: under NFPA 1983 those are the Technical Use and General Use minimum breaking strengths respectively. A 22kN rating stamped on the spine is a real credential. No stamp at all means you’re guessing, and there’s no version of guessing that belongs in this bag.
One more habit worth naming, borrowed straight from climbing. Cross-loading a carabiner, letting it rotate so the load pulls across the gate instead of along the spine, cuts its strength to a fraction of that stamped number. Pear shapes and captive-eye setups help, but mostly it’s a thing you look for every time you clip: is this biner sitting the way it’s meant to sit?
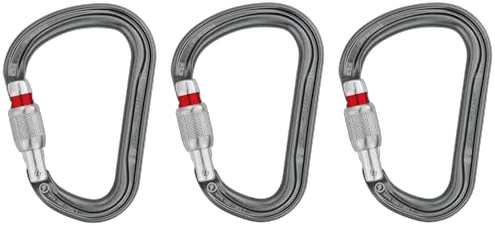
The Petzl William Carabiner three-pack gets you three of the four in one order, which is the practical way most people cross the floor. Rescue hardware is built and tested against the NFPA 1983 standard, and that rating is the whole point. It’s a documented load history, and mixing an unmarked climbing biner from a gear bin into the same kit quietly erases it.
Which brings up the rule that separates people who own dedicated rescue hardware from people who own gear: the kit’s hardware does nothing else. It doesn’t hold a dry bag, it doesn’t clip a water jug to the frame, it doesn’t get borrowed at camp. The same dedicated-use logic applies to your river knife and for the same reason. The moment a component’s history gets fuzzy, it stops being rescue equipment and becomes hardware you hope is fine.
If you already run rated lockers on your frame, you don’t need to double-buy. You need to segregate. Pick your four, mark them with a wrap of colored tape, and put them in the rescue bag permanently. The tape isn’t decoration, it’s what stops somebody grabbing one for a cooler strap at 6am.
Pulleys and How the Z-Drag Math Works
Most boaters can say “3:1” without being able to explain what the third pulley does. Worth fixing, because the answer changes where you stand during a rescue.
Two pulleys build the haul. That’s the mechanical advantage itself: rope runs from the anchor out to the boat, back through a pulley, and back again, so every foot you pull moves the boat about four inches while multiplying your force. The third pulley doesn’t add advantage at all. It redirects. It lets the hauling team pull from a spot on the bank with footing and space, instead of standing in a line straight back from the hazard because that’s where the rope happened to point.
The honest caveat is that 3:1 is a theoretical number. Friction in the sheaves and rope bending around hardware eats a real chunk of it, and a system rigged over a rock edge instead of through a pulley loses more than most people expect. Treat published ratios as a ceiling, not a promise.
Prusik-minding pulleys cost more than hardware-store pulleys for one specific reason: the side plates. They’re flat and wide enough that when the prusik knot slides up against the pulley, it gets stopped rather than sucked into the sheave and jammed. That’s the entire feature, and it’s what keeps a progress-capture system from locking up at the worst possible moment.
A sealed bearing pulley is the other thing worth paying for, mostly because this pulley is going to live in a wet bag for a season at a time. Grit is what ends pulleys, and river hardware collects grit the way nothing in a climbing rack ever does.
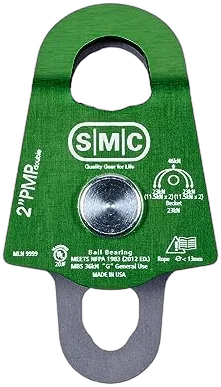
The anti-sell caveat on the HARKEN SMC double pulley: it’s genuinely premium, and a Class II to III day-tripper meets the exact same floor spec with two smaller single prusik-minding pulleys for less money. The community kit lists that circulate on the forums settle on the same minimum every time. Throw bag with 10mm or thicker rope, two pulleys, three pear-shaped lockers, two prusik loops. Anything thinner than that isn’t a system anyone should be trusting a rescue to, and anything above it is preference rather than requirement.
If you want the rigging itself rather than the parts list, how a Z-drag is rigged step by step walks the whole sequence, and stacking to a 5:1 covers where the ratios go from there.
Prusiks, Webbing, and the Anchor Side of the Kit
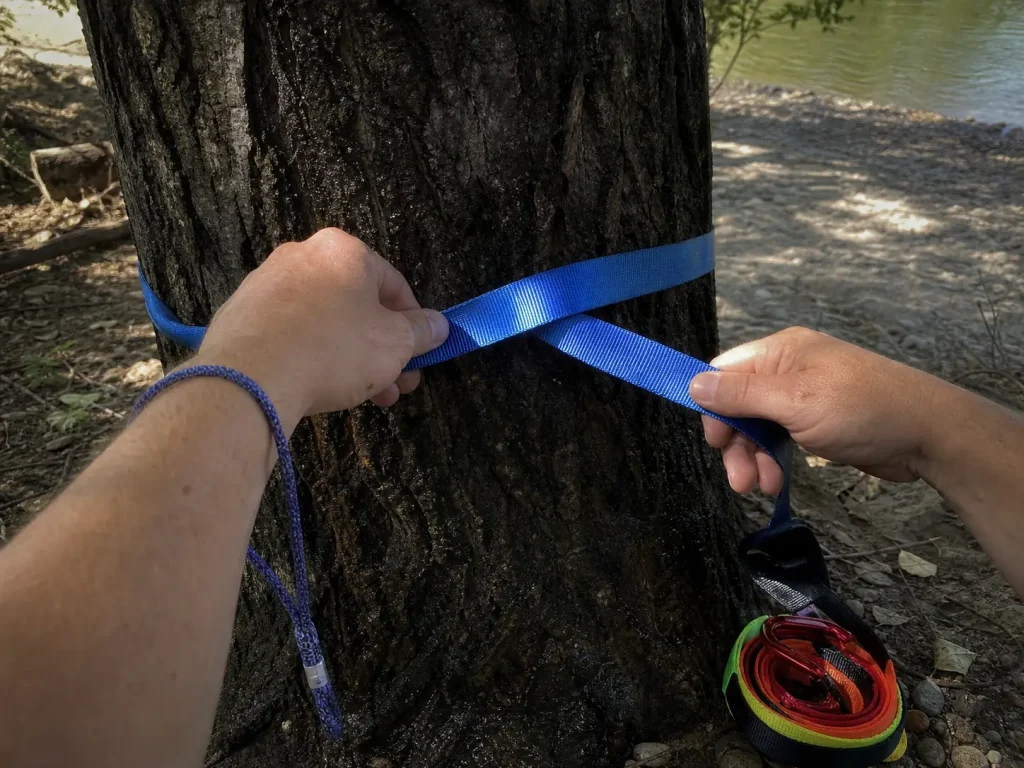
The hardware gets all the attention because it’s shiny and machined and has numbers stamped on it. The parts that actually fail first are made of nylon.
Pre-sewn beats hand-tied
You need two prusik loops minimum. One handles progress capture, holding whatever ground you’ve gained so the boat doesn’t slide back between hauls. The other is the traveling grab that gets reset up the line each cycle.
A pre-sewn prusik is worth the small premium over cord you tie yourself, and the reason is attention rather than strength. A hand-tied prusik depends on a double fisherman’s being dressed and set correctly, which is a fine thing to verify at the kitchen table and a terrible thing to be verifying while somebody’s boat is loading up. The Rock-N-Rescue 8mm Sewn Prusik Loop removes that variable entirely, with the stitched section right there where you can see it.
Diameter matters more than people expect. Prusik cord has to be meaningfully thinner than the rope it grips, generally a few millimeters down, or the knot won’t bite under load. That’s why 8mm cord pairs with a 1/2 inch haul line and why you’d step down again on a 9mm rope. Cord too close to the haul rope’s diameter slips, and a slipping prusik in a progress-capture position gives back everything you just hauled.
Webbing is what touches the anchor
Tubular webbing, called hoopie on most rivers, is what wraps the rock or the tree or the boat so your haul rope never has to. This is not a nice-to-have. Rope dragged around a rough anchor under a few thousand pounds of load abrades fast, and an abraded haul rope is finished for rescue work whether or not it looks finished.
One-inch tubular nylon is the standard, with a published breaking strength in the thousands of pounds and a designed safety factor on top of it. The Rock-N-Rescue 20-Foot Tubular Webbing Combo covers a typical anchor with working slack.
Carry more than one length. A single 20-footer quietly decides your anchor for you, because the only tree it reaches becomes the tree you use, and that’s backwards. Anchors get chosen for direction and solidity first.
Why nylon is the part that ages
Here’s what nobody puts on the parts list: webbing degrades from sunlight alone, without ever touching rock. A kit strapped to a frame all summer ages in a way an aluminum pulley simply doesn’t, and the nylon is the component quietly losing capability while the hardware still looks new. That’s covered properly further down, but it belongs in your head while you’re buying, because it means webbing is a consumable and the hardware isn’t.
Worth understanding alongside this: why rescue systems run on static rope rather than the stretchy stuff.
Buy your webbing in two lengths, not one long piece you plan to cut later. A 12-footer and a 20-footer cover most anchors between them, and cutting webbing on the bank means burning the ends with a lighter while everyone waits. Pre-cut, pre-sealed, done at home.
The Haul Line, and Whether Your Throw Bag Counts
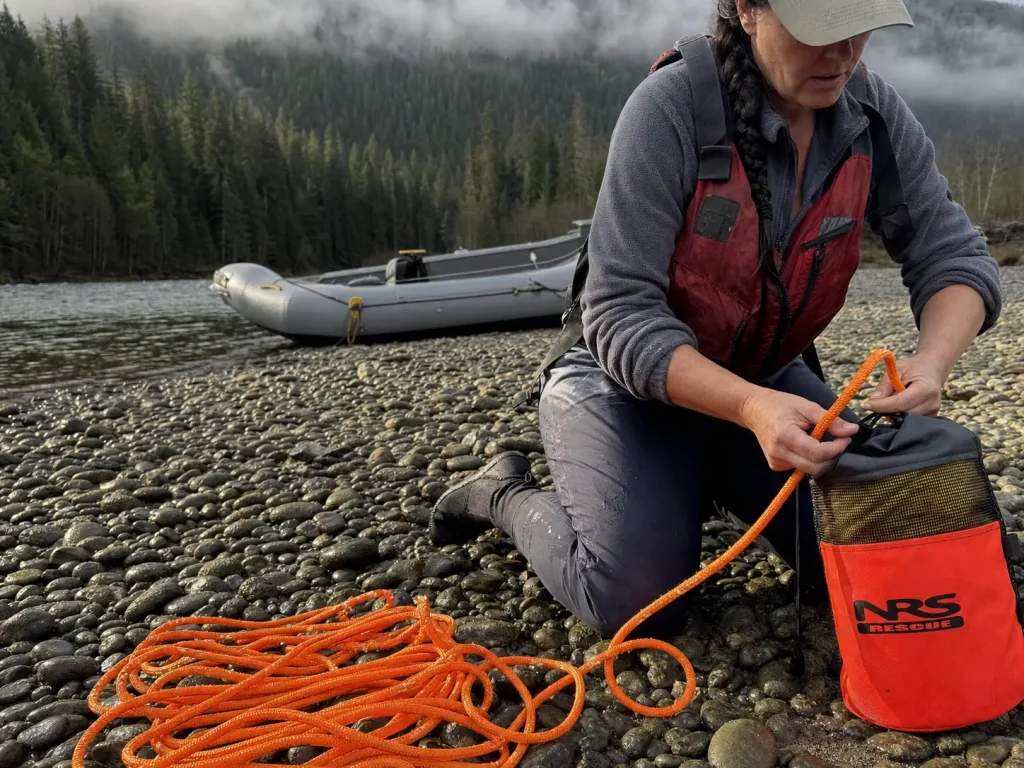
Almost every private boater already owns a throw bag and is quietly hoping it counts as the rope leg of a pin kit. The honest answer has an “it depends” in it, but not the useless kind.
The haul line is the backbone of the whole system. Assembled raft kits build around 150 feet of 3/8 or 1/2 inch static rescue rope, and the length is doing work that has nothing to do with breaking strength. It’s about where you get to stand. Long rope means rigging from the bank or from upstream with room to work. Short rope means setting up beside the hazard, in current, with the pinned boat right there.
The community floor spec does accept a throw bag as the rope leg, with a real minimum attached: 10mm or thicker. That number is the line between a rescue rope and a swimmer-retrieval line. Lightweight throw bags in the 8mm range exist because they pack small and throw well, which is genuinely the right priority for their actual job. They are not haul lines, and a system built on one is trusting the thinnest part of the chain.
Stretch is the other reason static rope matters here. A dynamic rope is designed to absorb energy, which is exactly what you want catching a climbing fall and exactly what you don’t want in a haul system. Every inch of stretch soaks up mechanical advantage you just built with three pulleys and a lot of setup.
The NRS Rescue Throw Rope is the honest middle of this: a rated floating line that does its primary job well and can serve as a haul-line leg when the situation calls for it. On a Class II to III day run with a light boat, that dual use is a reasonable call and always has been. On Class IV water or with a loaded multi-day boat, it isn’t, and that’s the point where a dedicated static line stops being optional.
Throwing the bag well is its own skill worth practicing separately from any of this, and using a throw bag covers that ground. Tethered and live-bait rescue sits beyond the scope of a pin kit entirely and depends on a rescue-belt PFD plus the training to use one.
Reading the Pin Before You Rig Anything
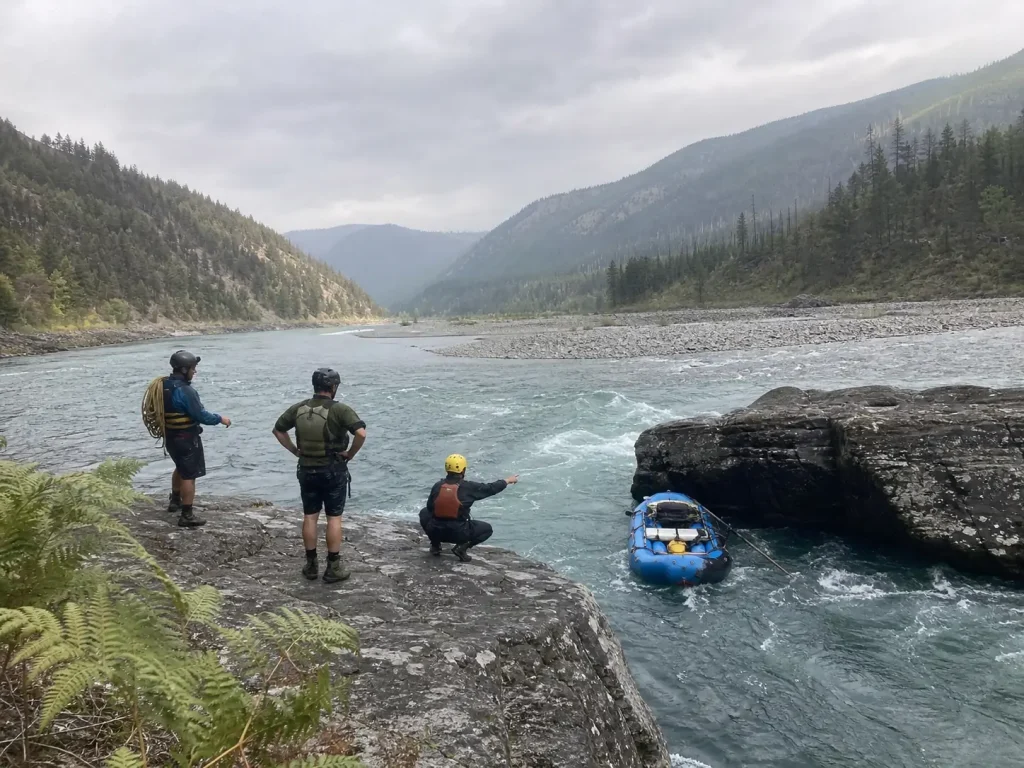
This is the section every competitor skips, and it’s the one that actually saves boats. The kit is your last resort, not your first move.
Most pinned rafts come off with a change in weight and a change in angle. Nobody rigs anything. Somebody shifts to the high side, three people lean, the seal breaks, the boat floats. Rigging a Z-drag on a boat that would have released with three people on the upstream tube is how a ten-minute problem becomes a two-hour one, in cold water, with light burning.
Where the pressure actually is
Before touching a rope, read which tube is loaded and which way the current is stacking against the hull. Reading a pin is a named skill on the river for a reason: the water tells you where the force is and, more usefully, where it isn’t. A boat pinned on its downstream corner is a different problem from one pinned broadside with the full current on the upstream tube, and they release in different directions.
Read the surroundings in the same breath. Is there an eddy downstream that gives you somewhere to put the boat once it moves, or does it flush straight into the next drop? Is the rock a clean pin or a strainer with wood in it, which changes the whole calculation about putting people in the water? Is there a hydraulic below that the freed boat drops directly into? These aren’t rigging questions, they’re the questions that decide whether you rig at all.
Then try the cheap moves. Get weight off the downstream side. High-side to break the seal. Push the bow or stern to pivot the hull off its contact point and let water get underneath. These cost nothing but a minute, and the minute is well spent because the alternative takes considerably longer.
There’s a real window here, usually ten or fifteen seconds while everybody looks at each other, where somebody decides whether this is a lean-on-the-tube problem or a rig-the-system problem. Making that call fast and out loud is most of the skill. The ACA’s own Safety & Rescue Handbook puts assessment ahead of rigging for exactly this reason.
Why pulling harder never works
Here’s the mechanics competitors leave out. A vector pull delivers its greatest mechanical advantage when the haul line is straight, and that advantage drops off as the line bends around the vector point. Which means the geometry that was working stops working the instant the boat starts to move. You get a burst of progress, the line angles change, and the same effort suddenly does less.
The instinct at that moment is to add people to the rope. It’s the wrong instinct. More hands on a straight pull adds load without adding leverage, and the load has to go somewhere. Usually into the anchor, sometimes into a D-ring that was never meant to carry it.
Change the angle, not the crew
Repositioning the pull multiplies force more effectively than adding pullers. Move the haul upstream, downstream, or up the bank and you change the vector the boat feels, often dramatically, for the cost of walking twenty feet. Boaters who’ve done this a few times reach for the angle before they reach for another set of hands, and setting up a vector pull covers the mechanics of doing it deliberately.
The caveat that keeps this honest: a vector pull transmits nearly as much force to the anchor as it does to the load. Your anchor has to be as solid as the pin demands, not as solid as looked fine while you were rigging. A marginal anchor under a vector pull is a second problem arriving while you’re busy with the first.
And there’s a limit to all of it. Some pins aren’t private-boater problems, and recognizing when the call stops being yours to make is part of running rivers without a support crew.
Scaling the Kit to the Water You Actually Run
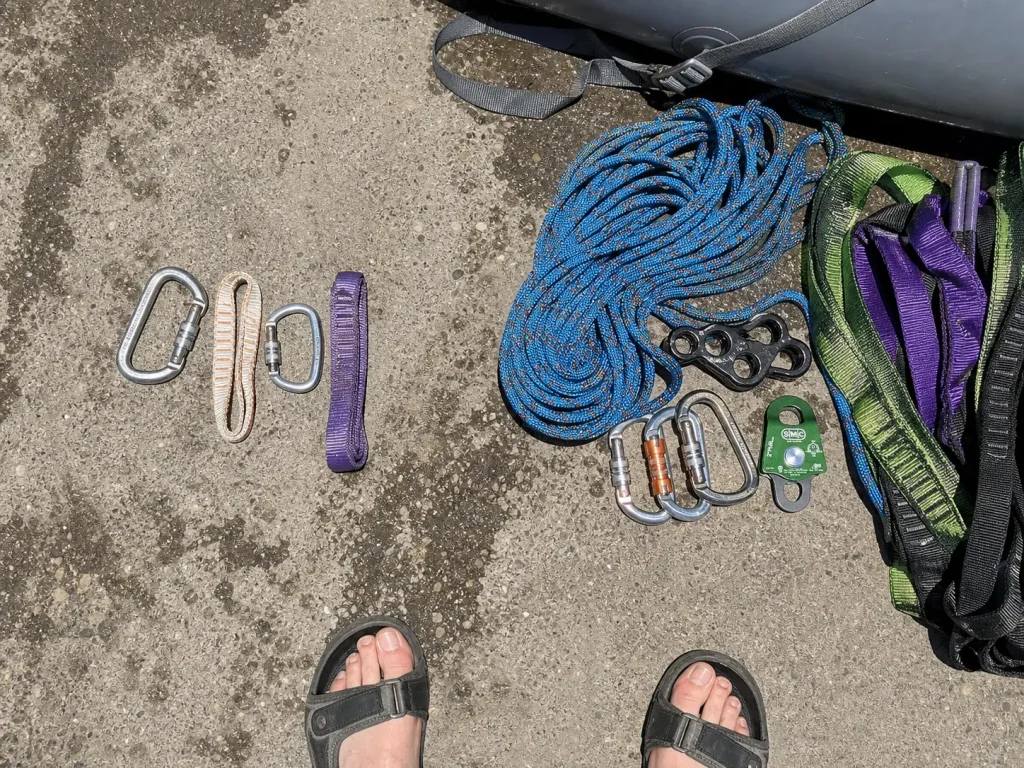
Most articles quietly sell everybody the outfitter kit, which is how a guy who runs Class III twice a month ends up carrying a bag built for commercial multi-day trips.
For Class II rapids and Class III rapids on a day run, the floor spec is the kit. Rated throw rope, four lockers, two prusik-minding pulleys, two sewn prusiks, two lengths of webbing, a dry bag. That minimal kit is complete and functional, it fits in a modest dry bag, and it handles the overwhelming majority of what a day-tripper will meet. Buying past it isn’t wrong, but it isn’t safety either.
Class IV rapids and up, or any loaded multi-day boat, is where the additions start earning their weight. More rope, and longer. More webbing lengths so anchor choice stays free. A rigging plate for cleaner multi-point anchors. Redundancy in the hardware, because a dropped carabiner in a canyon is a component you don’t get back.
The loaded boat is the real driver here. A multi-day raft carrying a week of gear pins with far more mass behind it than the same hull running empty, and everything downstream of that fact gets harder in proportion.
Commercial rafting operations sit on their own tier, and it’s a professional standard rather than a private-boater benchmark. Guides carry what their operation and insurer require. Reading that list and treating it as your shopping list is how people end up overbought.
Water temperature compresses every timeline in this article. A spring runoff pin and the same rock in August are not the same event, because at high flow you have less time, more force, and swimmers who lose function fast. Cold water rescue is the same rigging with a much shorter clock, which is why the decision-making section above matters more than the shopping list does. The kit doesn’t change. The urgency does, and so does how much margin your decisions need. The full gear checklist by river class puts the pin kit in context with everything else that scales the same way, and the signaling side of the same kit lives in your PFD pocket right alongside the minimal subset.
If you’re running the same handful of rivers, size the kit to the hardest thing you actually run, not to the hardest thing you might run someday. The someday kit is heavier, costs more, and ends up stowed deeper in the boat, which makes it slower to reach on the water you’re on right now.
Building Your Own vs Buying a Pre-Made Kit
“DIY raft pin kit” is a real search, and it deserves a real answer instead of a nudge toward the checkout button.
Complete pre-made un-pin and Z-drag kits from the established rescue outfitters run roughly $400 to $750 depending on rope length and hardware tier. That’s a genuine purchase, and it’s the entire reason the DIY question exists. Assembled piece by piece from the components in this article, the same floor spec comes in meaningfully under that, and considerably under it for a boater who already owns rated lockers.
So what does the premium actually buy? Verification, mostly. Every component in an assembled kit arrives pre-checked as rescue-rated, the rope and prusik cord diameters are matched to work together, and the bag is sized to hold all of it. Buy the pieces yourself and that verification becomes your job, item by item. Every piece has to be load-rated gear, and you have to know it is rather than assume it.
That’s where DIY kits go wrong, and the failures are boringly consistent. A hardware-store pulley that looks the part and has no rating. An unmarked carabiner from a bin. Prusik cord too close in diameter to the haul rope, which slips under exactly the load it exists to hold. None of these announce themselves. All of them show up at the same moment.
The pattern that plays out constantly on the forums: a private boater prices an assembled kit, balks at the number, and builds their own from a carabiner three-pack, a couple of pulleys, and a length of prusik cord for a fraction of the cost. That’s a completely legitimate path, and it works, as long as the person walking it treats the verification step as real work rather than a formality.
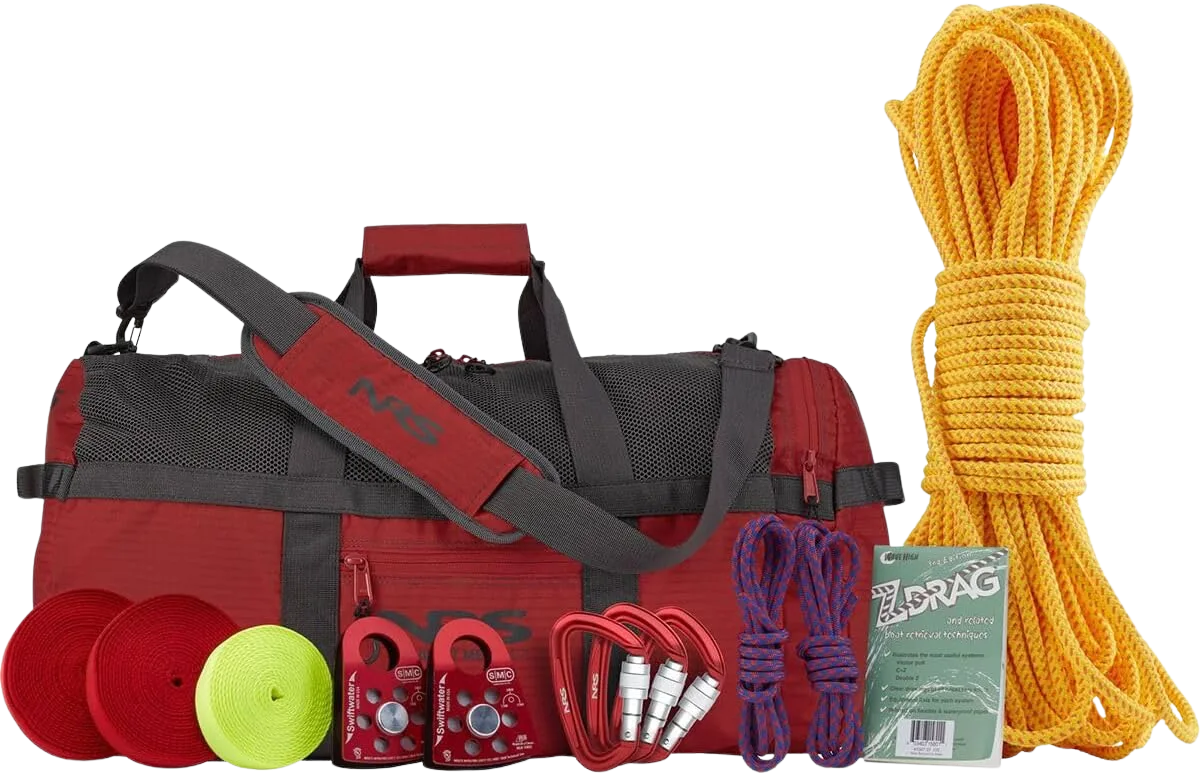
The NRS Z-Drag Kit anchors the assembled side of this comparison, built around a real 1/2 inch static line rather than a throw bag doing double duty. Whichever route you take, the same overbuy trap that shows up here shows up in raft frames too, and it’s worth naming: private boaters consistently buy for a river they aspire to rather than the one on the shuttle schedule.
How the Kit Rides, and Why Most Never Get Opened
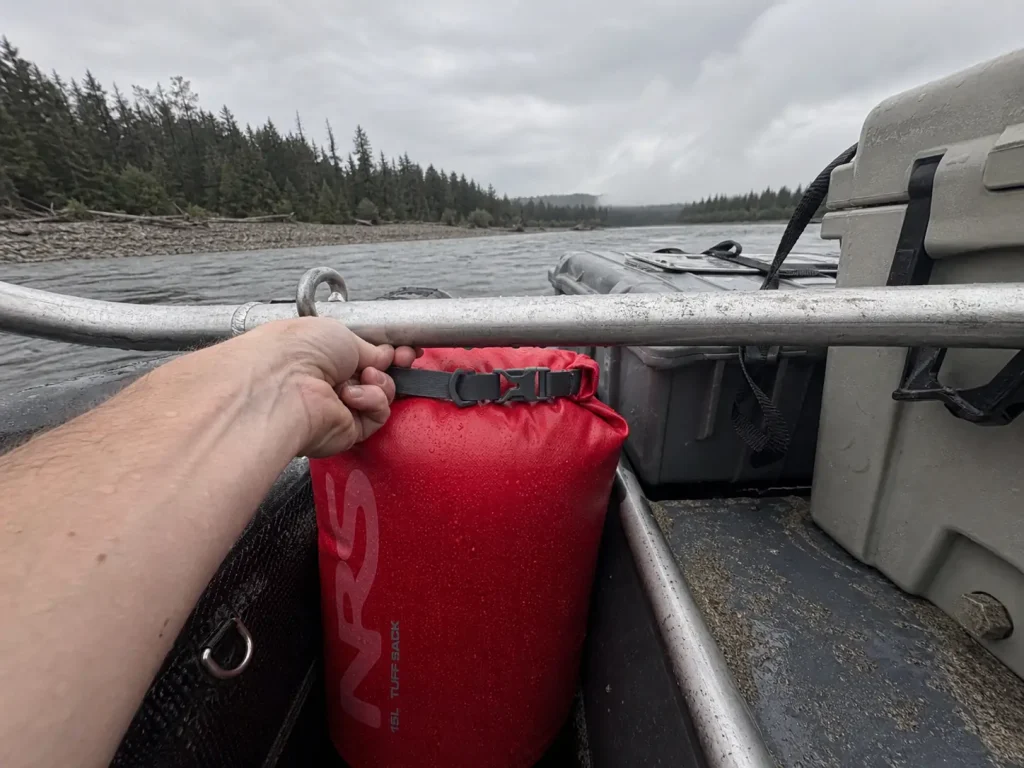
The best-stocked kit on the river is worthless under the cooler, under the dry box, at the bottom of the frame bag. This is the failure mode nobody writes about, because it isn’t a gear problem and there’s nothing to sell against it.
PFD-pocket kit vs raft-carried kit
There’s a minimal subset that lives on your person: one prusik, a locker, a short length of webbing. It won’t build a Z-drag. It will let you do something useful in the first thirty seconds, which is occasionally the whole rescue.
The full kit lives on the boat, and where it lives matters as much as what’s in it. Reachable from the rowing seat or a thwart without unlashing anything. Not under the load. Where gear actually belongs on the boat is a decision most people make once, at the beginning of a season, and then live with for a year.
The container decides whether it gets used
A roll-top dry bag keeps the rope and webbing dry and, more usefully, keeps the whole kit as one grab-able unit. That’s the argument against letting the pin kit ride loose in a general gear bag with straps and pumps and somebody’s spare layer on top of it. The NRS Tuff Sack Dry Bag is the plain version of this and does the job without complication.
One dedicated bag, one distinctive color, same spot every single trip. That last part is the one people skip. If the kit lives wherever it lands, then only the person who packed it knows where it is, and that person might be the one in the water. Anybody on the boat should be able to say “red bag, under the front thwart” without thinking. Alongside it, rigging a dry box covers the rest of the dry storage question.
Buried in the frame bag
The failure mode has a name on the river: buried in the frame bag. It’s the kit stacked with premium components, bulky enough that it gets stowed deep, carried faithfully every trip for three seasons, and never once opened.
That kit is not safety equipment. It’s ballast with good intentions. What converts it is unglamorous: pull it out on flat water once a season and actually build the 3:1. Not read about it. Build it, with the same hardware, in daylight, with dry hands.
The first time anybody rigs a Z-drag it takes far longer than they expect and the rope goes the wrong way at least once. Much better to discover that on a gravel bar than at a pin.
Inspecting Your Kit and Getting Actual Training
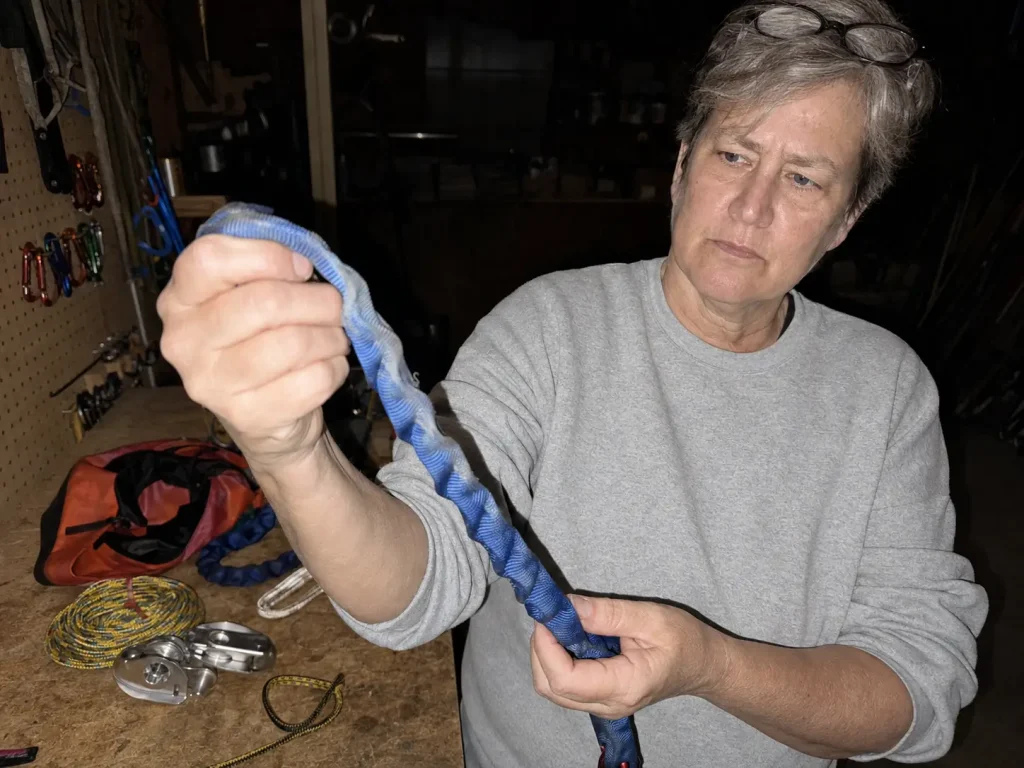
Two things everybody mentions and nobody finishes: how the kit ages, and where to get trained. Both deserve better than a closing sentence.
UV is what retires your webbing
Webbing degradation from UV is the one nobody plans for. Nylon webbing loses roughly 30% of its tensile strength after a few months of direct sun exposure, and more than half after around three years of continuous UV. Read that again with your gear in mind.
The webbing riding strapped to your frame all summer is losing capability whether or not it ever touches a rock, and it looks completely fine while it happens. Sunlight is the wear pattern nobody inspects for.
The visual retirement flags are simple enough to check on a lawn: faded color, frayed or fuzzy edges, stiffness where the weave has gone hard, hardware that’s become difficult to adjust, and any abrasion at the points where load concentrates. Color fade alone is reason enough to retire a length. It’s the cheapest component in the kit and the one holding your anchor.
The pre-season gear inspection takes twenty minutes. Unroll every length of webbing and run it through your hands end to end. Work every screw gate, all the way open and closed, feeling for grit. Spin each pulley sheave and listen.
Rope care is the half people skip. Flake the line out and look at it, then check that it went into storage dry, because a rope bagged wet comes out smelling like a basement and having lost something you can’t measure at home. Store the whole kit out of sunlight between seasons. The rest of your gear needs the same off-season attention, and the pin kit is easy to skip precisely because it looks untouched.
Where to actually get trained
Every article on this topic ends with “get proper training before rigging a mechanical advantage system,” and then stops. Here’s the part they leave off.
An ACA Level 4 Swiftwater Rescue course is a two-day certification covering hazard identification and avoidance, self-rescue, and assisting paddlers in trouble. It’s the common baseline, accepted by most outfitters, and it’s run widely enough that most boaters can find one within a reasonable drive during the season.
Rescue 3 style courses are the other major path, built to meet NFPA standards, which is the benchmark that matters for anybody guiding professionally. If you’re curious how these stack up against each other, how the certification ladder is structured lays out the whole progression.
The flat version: the course is part of the kit. Not an upgrade, not a someday item. Rigging a mechanical advantage system from a blog post, this one included, is not a plan. Reading gets you the vocabulary and the shopping list. A weekend with an instructor and a real rope gets you the thing that works when it’s cold and everybody’s talking at once.
The Short Version
Count the locking carabiners first. Under four, it isn’t a system, and the rest of the shopping list can wait until it is.
Read the pin before you rig. Most boats come off with weight and angle, and the crews that reach for the rope first are usually the ones still there at dusk.
A kit you’ve never opened on flat water is a bag of parts you’re carrying for the exercise. Pull it out before your next trip, dump it on the lawn, and build the 3:1 in your driveway. If you can’t rig it in daylight with dry hands and nobody yelling, the river is a poor place to find that out.
Frequently Asked Questions
01What should be in a raft pin kit?
A working raft pin kit holds a static rescue rope or rated throw rope, four locking carabiners, two prusik-minding pulleys, two prusik loops, tubular webbing, and a dry bag. Rope runs 150 feet in assembled kits so you can rig from shore. The carabiner count is the pass or fail item.
02Can I use a kayak pin kit for a raft?
Not as-is. The component categories match, but rope diameter and working length both have to grow for raft loads, since a pinned raft carries far more mass plus the water filling it. The multiple attachment points on a raft also change how you rig the pull.
03Is it worth buying a pre-made pin kit or building your own?
Buying assembled costs more and buys you verified, matched components. Building your own costs less and moves that verification onto you, item by item. DIY works well for boaters who already own rated hardware, and the biggest mistake is letting one unrated component slip in.
04How long should a raft flip line be?
Long enough to reach across your tube from the far side with working slack left over, which means it gets sized to your boat rather than to a universal number. Wider rafts need more. The flip line is a companion piece to the pin kit, not part of the haul system.
05Do I need swiftwater rescue training to use a raft pin kit?
Yes. Assembling the gear is the easy part, and a mechanical advantage system rigged wrong loads your anchor hard enough to create a second problem. The two common paths are an ACA Level 4 Swiftwater Rescue course or a Rescue 3 style course built to NFPA standards.